Tag: home winemaking
Preparing for the Harvest – Part II
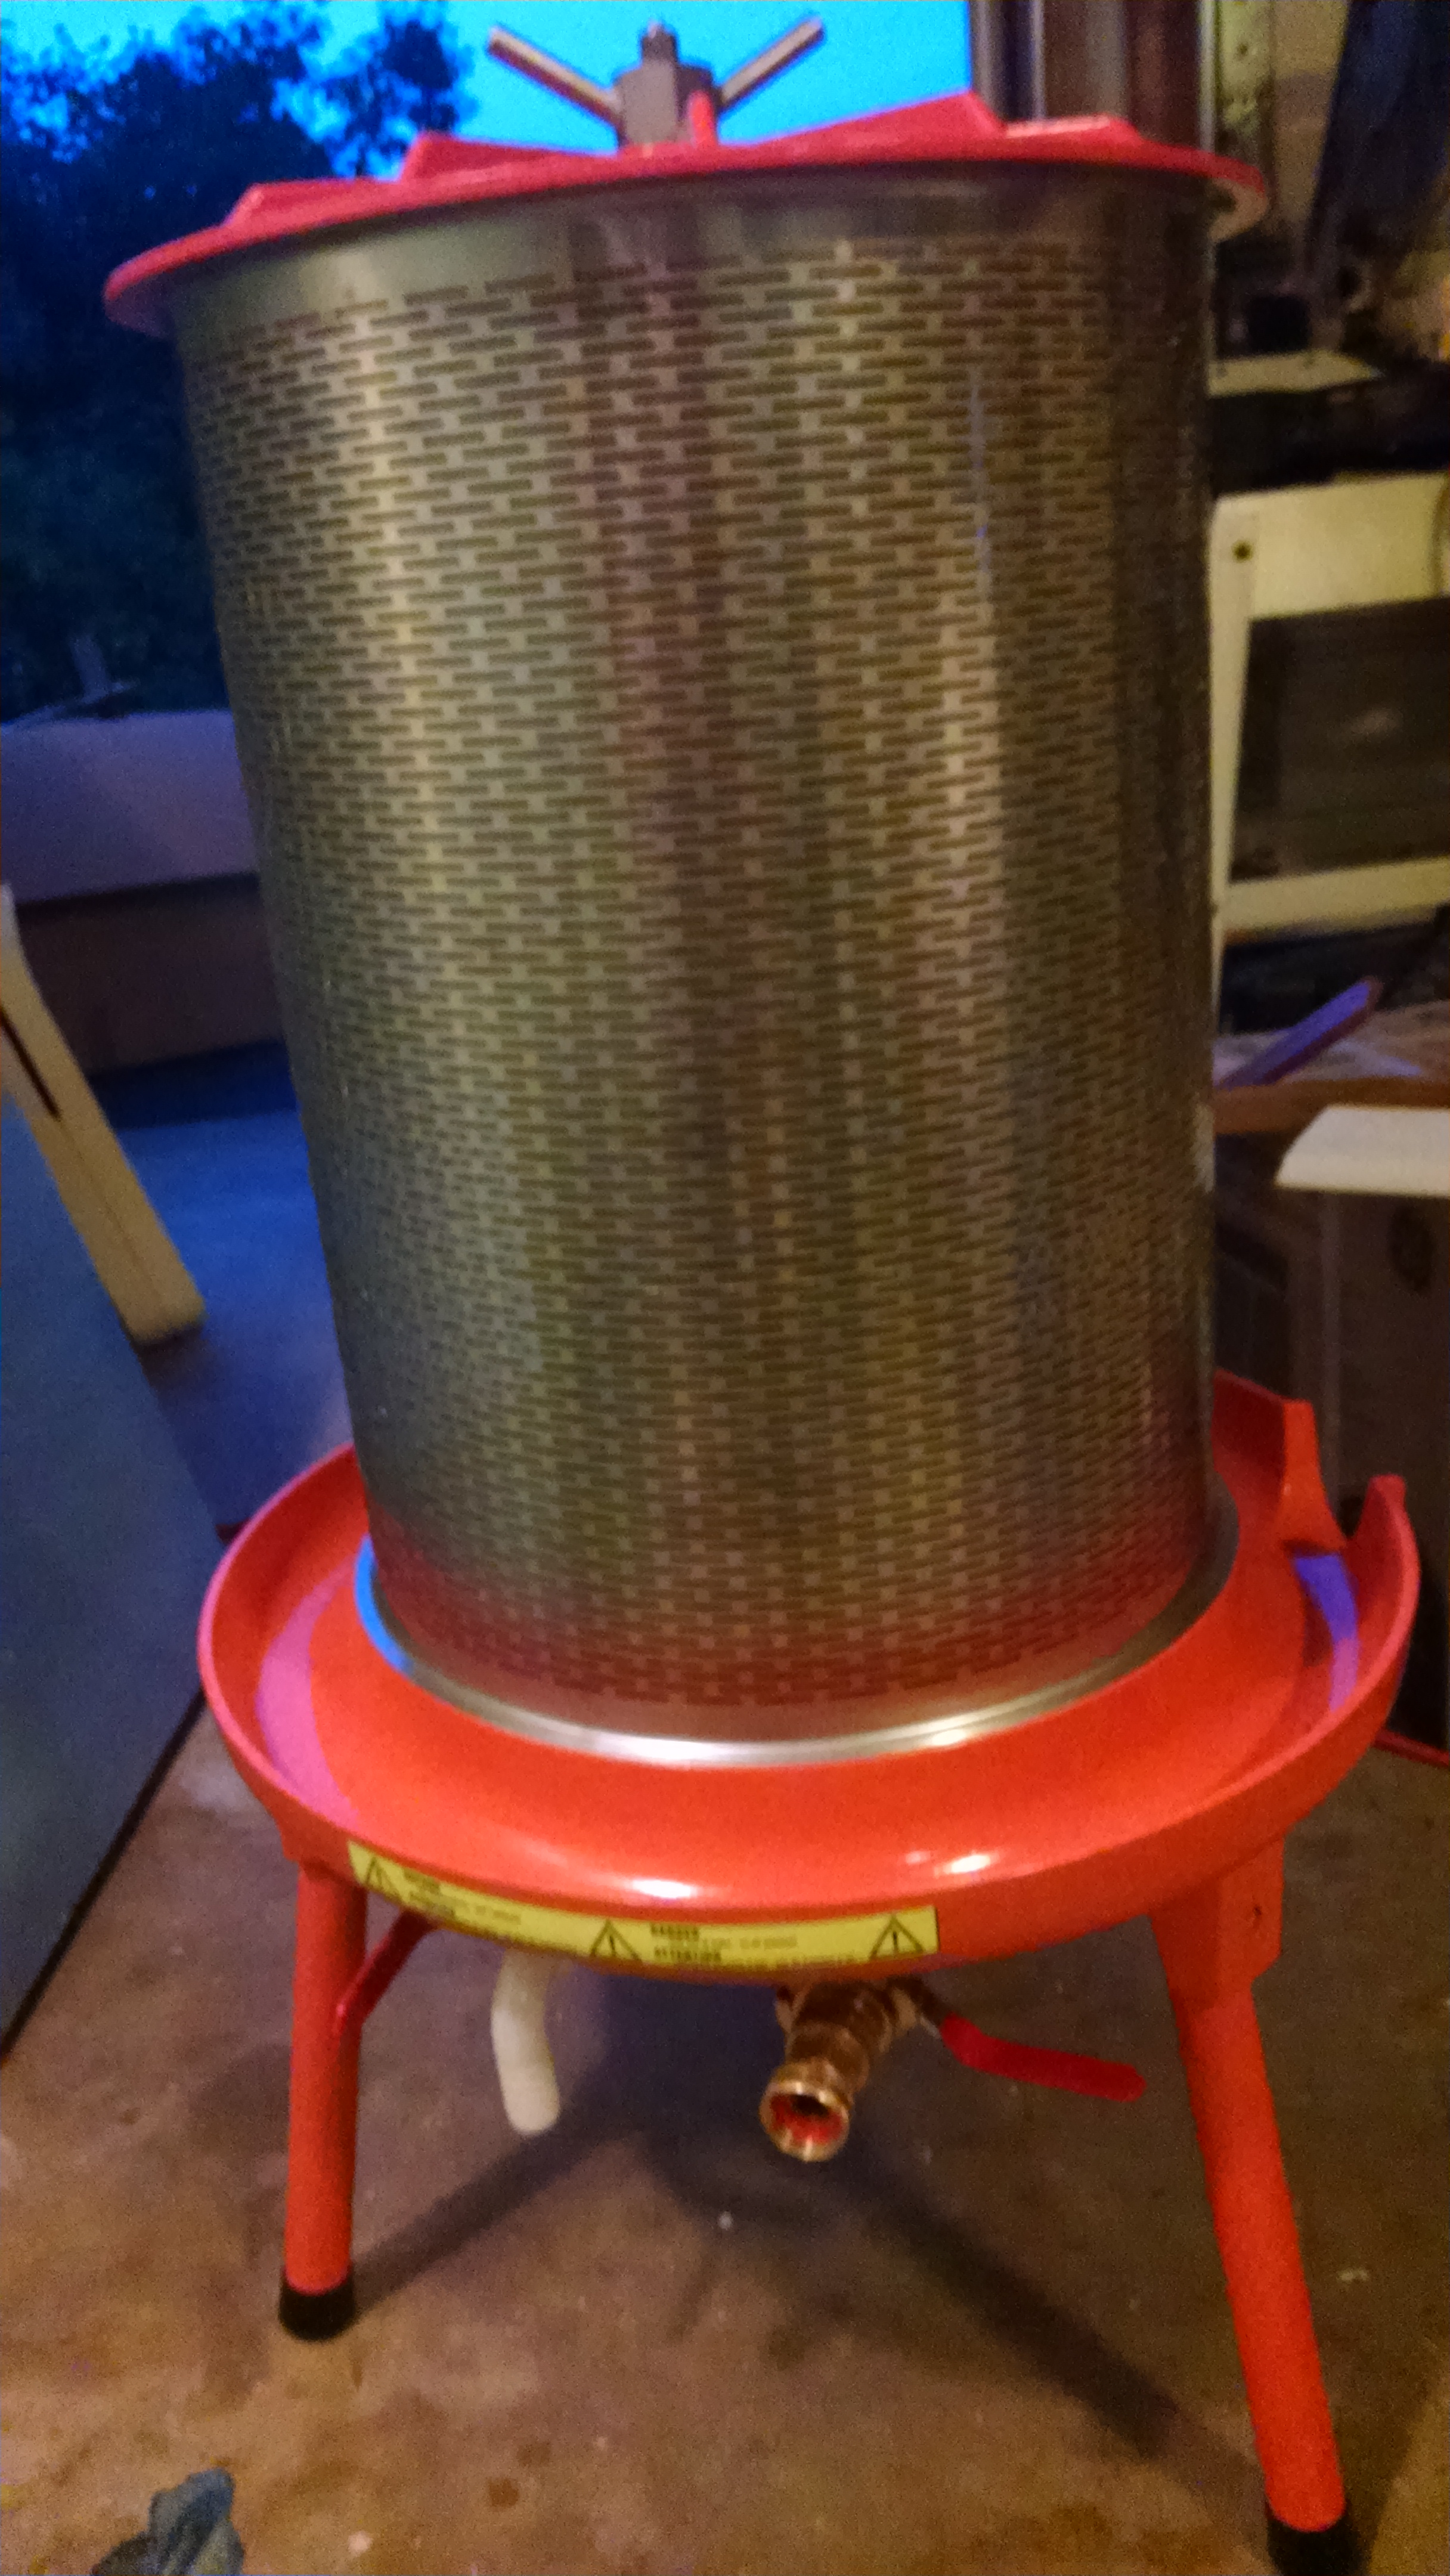
The bladder press is a lovely piece of equipment. below the juice channel, you can see the hook-up for the garden hose.
After three years and more of work and study, we’re close to our first harvest. We started in 2010 with our first classes on viticulture at Piedmont Virginia Community College, and moved on to researching and ordering vines in early 2011. We’ve spent three y ears nursing those vines along, and now some of the varieties – the Viognier especially – are only days away from being ready to pick. (With the rest a bit further behind.) And for all the time we’ve had to think about these things, found myself scrambling in these last few months to make sure I knew what I was doing and had the equipment to do it with.
In some ways, assembling the small items – the yeasts, the beakers, the malolactic bacteria and the like, which I discussed in my last post – was the easiest part of assembling a home winery. Those items mainly required research and an hour or so on the More Wine site. The big items – the crush-destemmer, the bladder press, and the barrel room – though few in number, posed the biggest challenge.
Because they were the most expensive items I ordered, I spent quite a bit of time agonizing over the crusher and press. There are lots of choices at very different price points, and I wanted to order equipment that would be adequate for the task without going overboard.
The crusher destemmer has two tasks. First, it gently crushes the grapes, so that, in the case of reds, they are ready to begin fermentation, and, in the case of whites, they are ready for the press. Second, it separates the stems (which contain bitter tannins) from the grapes. The stems fall out through one side of the crusher-destemmer into a bucket, and the grapes and juice fall into a fermenter.
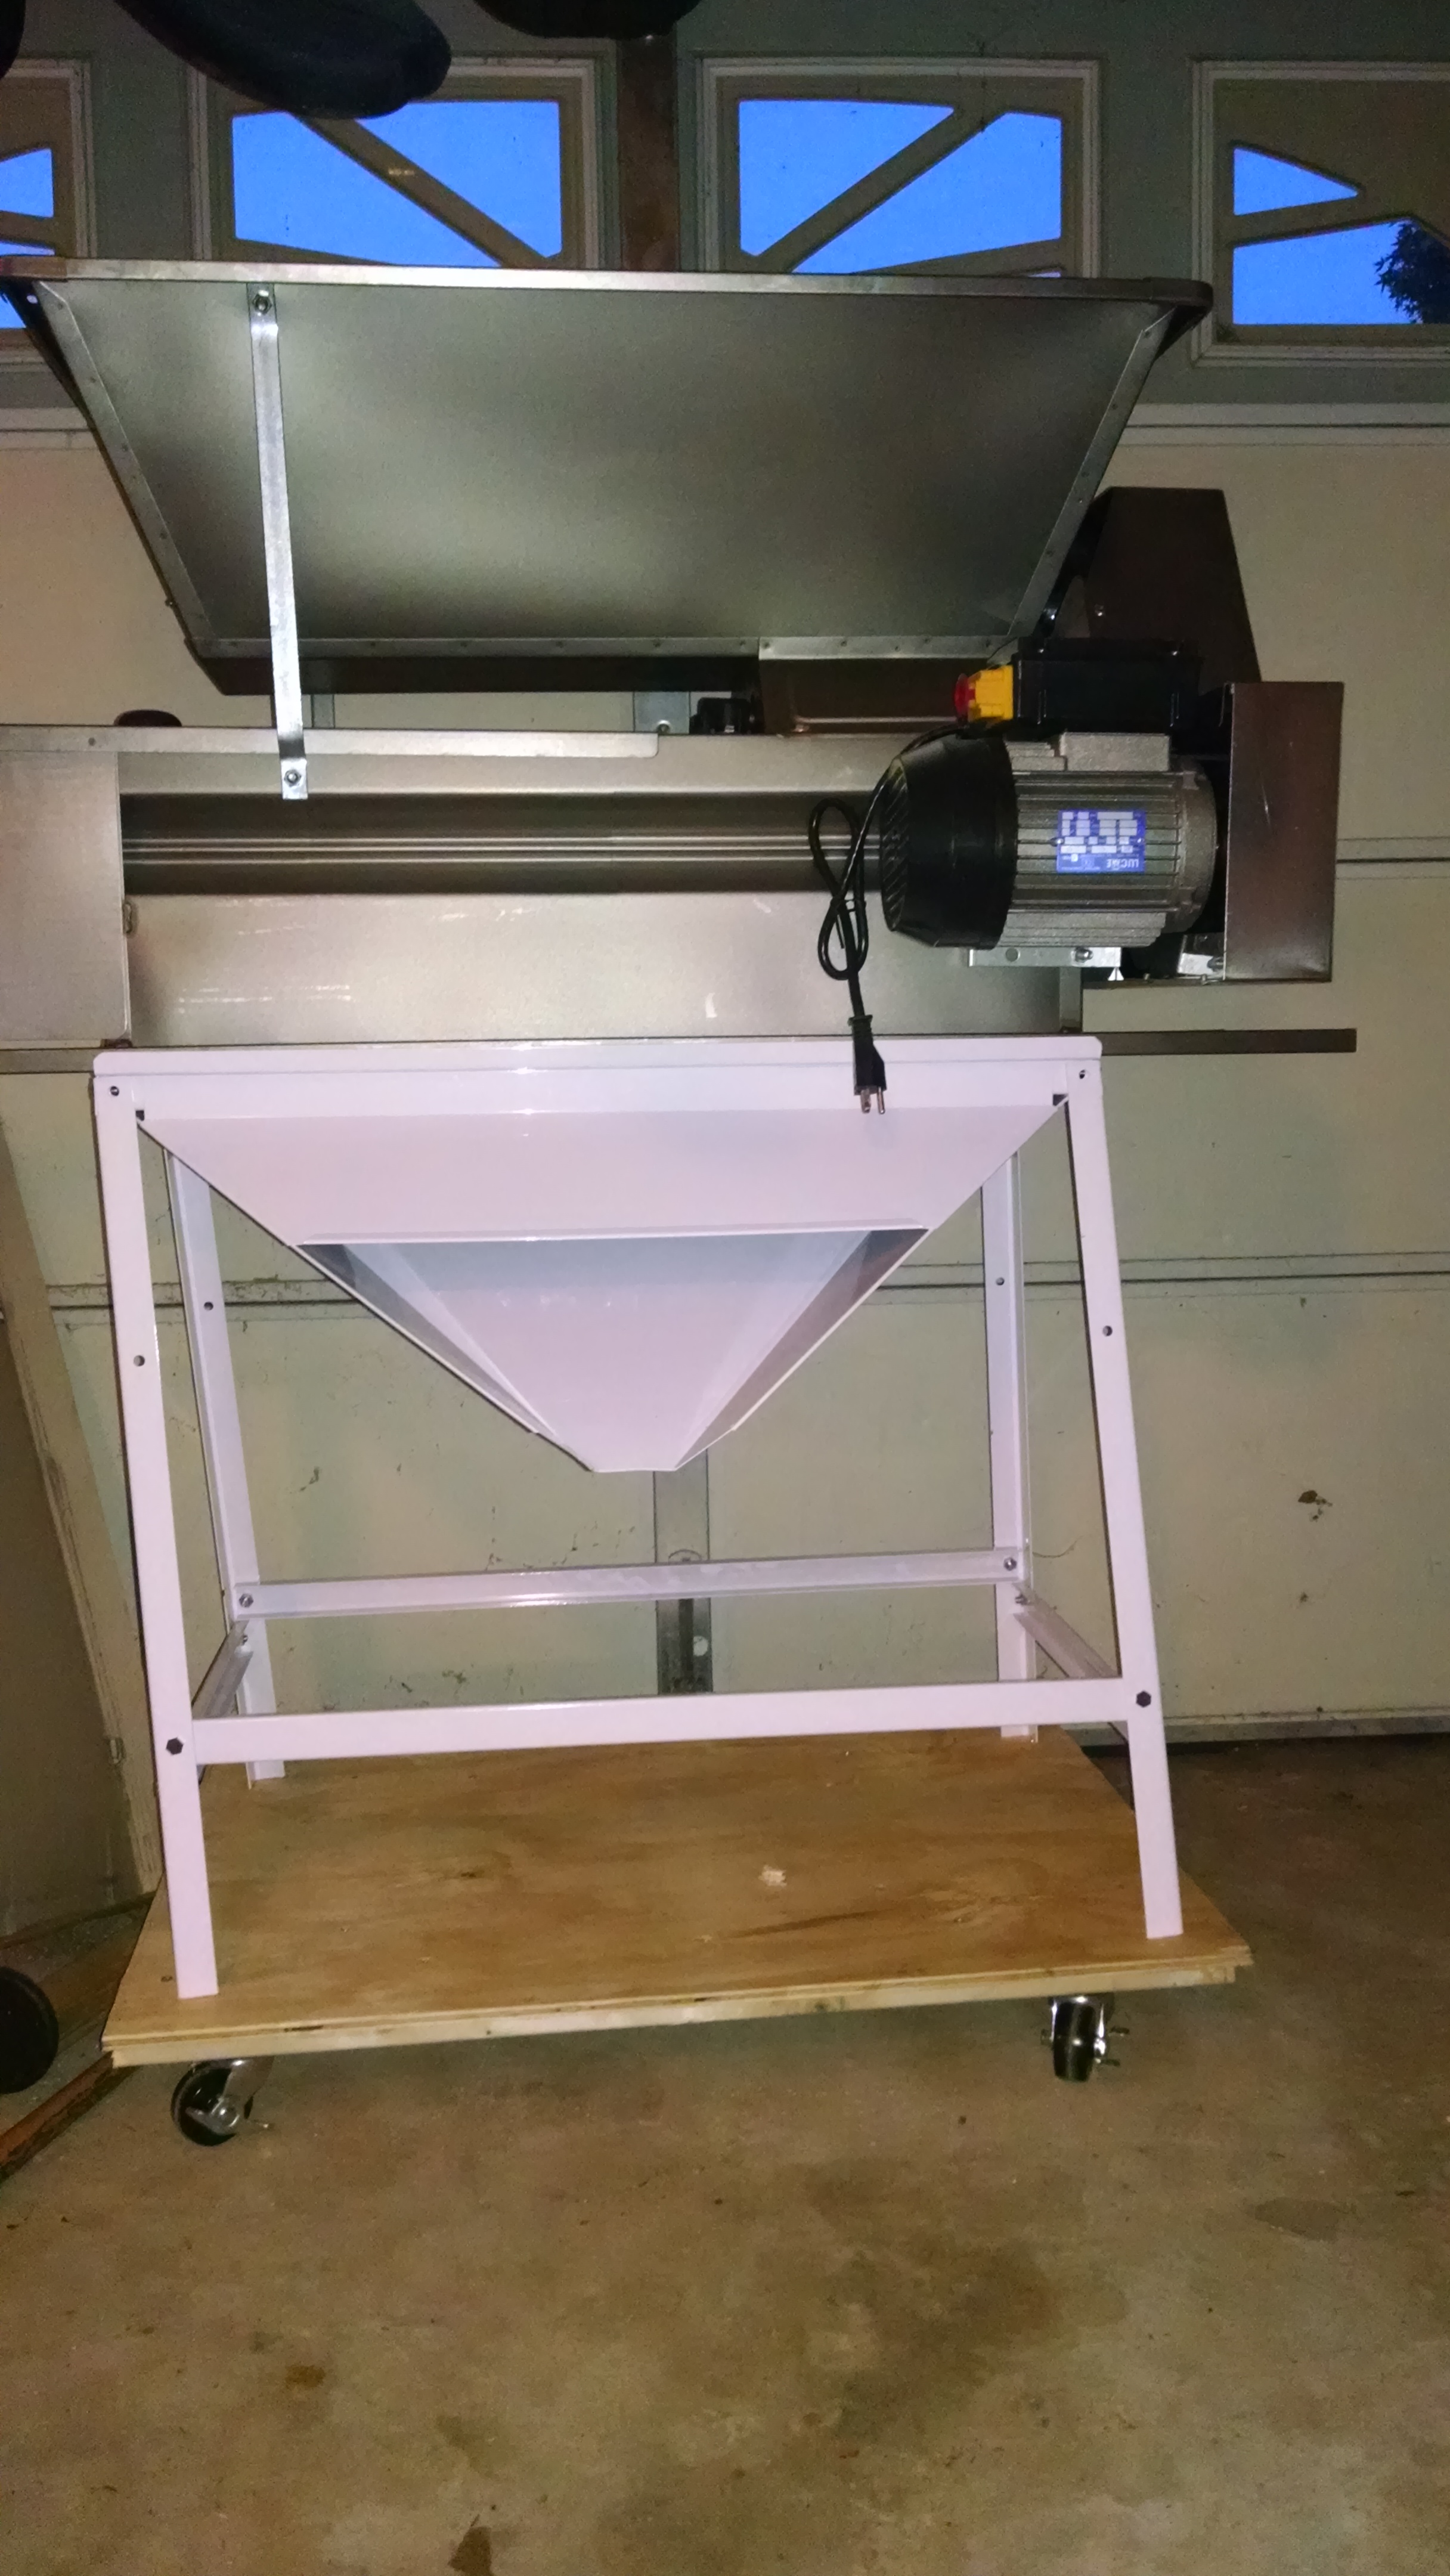
Crusher-destemmr on its stand. I built the wood dolly with plywood, 2×4 lumber and 3 inch wheels.
I would have preferred that it work in the opposite order, first so that there’s no risk of the stems being crushed, and second, so that the two processes could be separated allowing me to destem without crushing if I chose to. But that’s a whole different price range, and all in all, I’m pretty happy with the motorized, stainless-steel machine I purchased. I did wonder briefly if it was overkill for the quantity of grapes I’m likely to be processing, but I tell myself that it’s an investment in the future. Yeah, that’s the ticket, an investment in the future!
I also ordered a bladder press, which is used to press the juice off the skins and seeds of the grapes. The bladder press is pricier than the more traditional-looking basket presses (think wood stave sides and a ratchet handle at the top that is turned to push down a plate to squeeze the grapes), but all of the literature I’ve read suggests the bladder press is a much better choice. The bladder inside the press fills with water from a garden hose to expand gently, pressing the grapes against a screen that lets the juice flow out, while the skins are kept inside. It’s actually quite a beautiful piece of hardware.
After I unpackaged the crusher-destemmer, admired it, let it sit on the shipping pallet for a couple of weeks (it’s really heavy), I came face to face with a small mistake. I hadn’t ordered a stand for it, reasoning that I could use sawhorses or something similar to hold it high enough to let the crushed grapes fall into a fermenter.
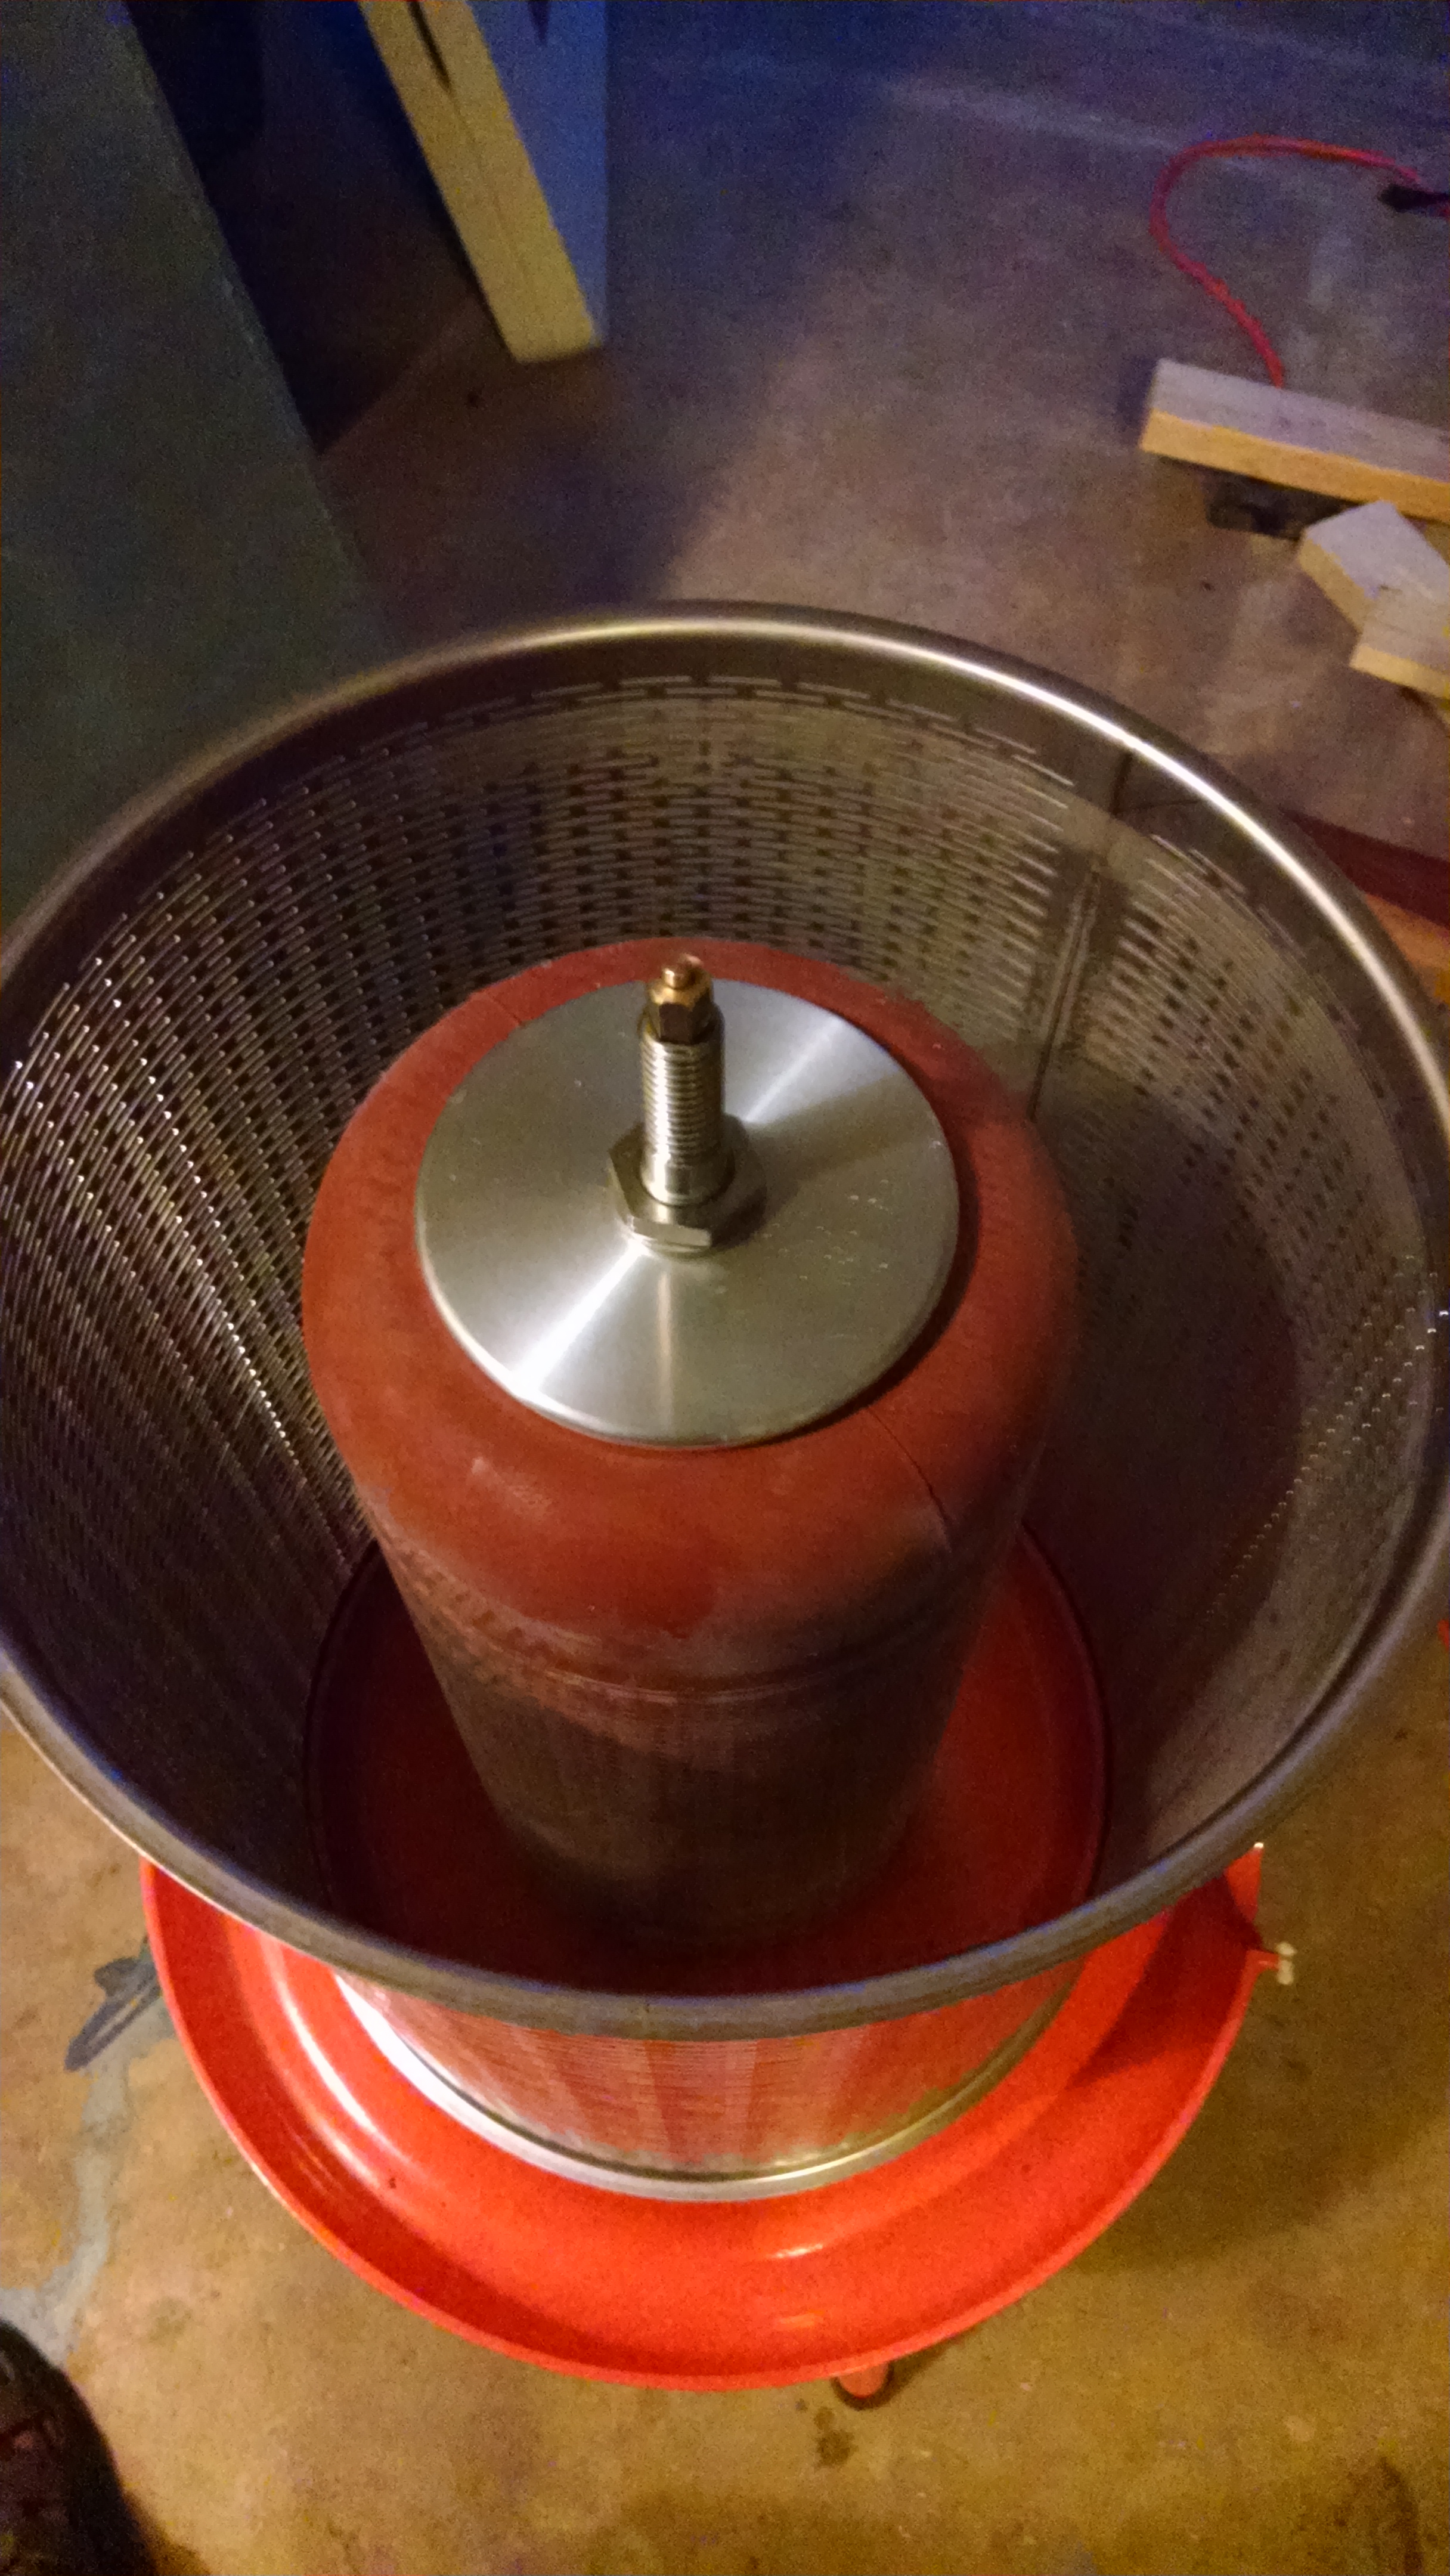
Inside the bladder press – the bladder at the center fills with water and expands to gently squeeze the grapes.
Well, not quite. It turns out the crushed grapes fall through the entire length of the bottom of the crusher, and need to be funneled into some kind of container, either a small fermenter or buckets to carry the grapes to a larger fermenter. So, I turned back to MoreWinemaking, which is where I bought the crusher to see about a stand. It cost $325, which isn’t terrible, but it would have cost nearly as much to ship it, since it has to go by truck. That just seemed wrong, somehow. I had paid one shipping cost for both the crusher and bladder press, and while the shipping was expensive, it was still only a fraction of the cost of the two pieces of equipment. In the case of the stand, I just couldn’t bring myself to pay as much for shipping as for the item itself.
So, I tried other vendors, and the story was the same everywhere, until I stumbled across Carolina Wine Supply. They were willing to ship it UPS or FedEx, unassembled in a flat box, for something like $25. Definitely a company I’ll be doing more business with.
For what it’s worth, having equipment shipped by truck isn’t exactly a trouble-free process. They really want to ship to businesses with loading docks, not to suburban homes, and the cost goes up significantly for the latter. Moreover, they expect you to make arrangements to be there when they arrive, which can be difficult because they don’t always provide much advance warning. I was able to bargain with the trucking company to leave the items on my driveway while I wasn’t home, which worked after a couple of false starts, but it did mean I waived my rights to inspect the items for damage. Well, you work with what you got.
At some point over the summer, I began to wonder where I would store the wine while it was fermenting and aging. Once the initial fermentation is complete, the wine goes into glass carboys for secondary fermentation and, later, for aging. I have quite a number of glass carboys, and it occurred to me that spreading them across the garage wasn’t practical.
A six gallon glass carboy is heavy to begin with, but once full, it weighs an additional 48 pounds, so moving a full carboy around is physically demanding and mentally harrowing. If it slips from your hands and breaks, you end up with a garage full of spilled wine and broken glass. Not good.
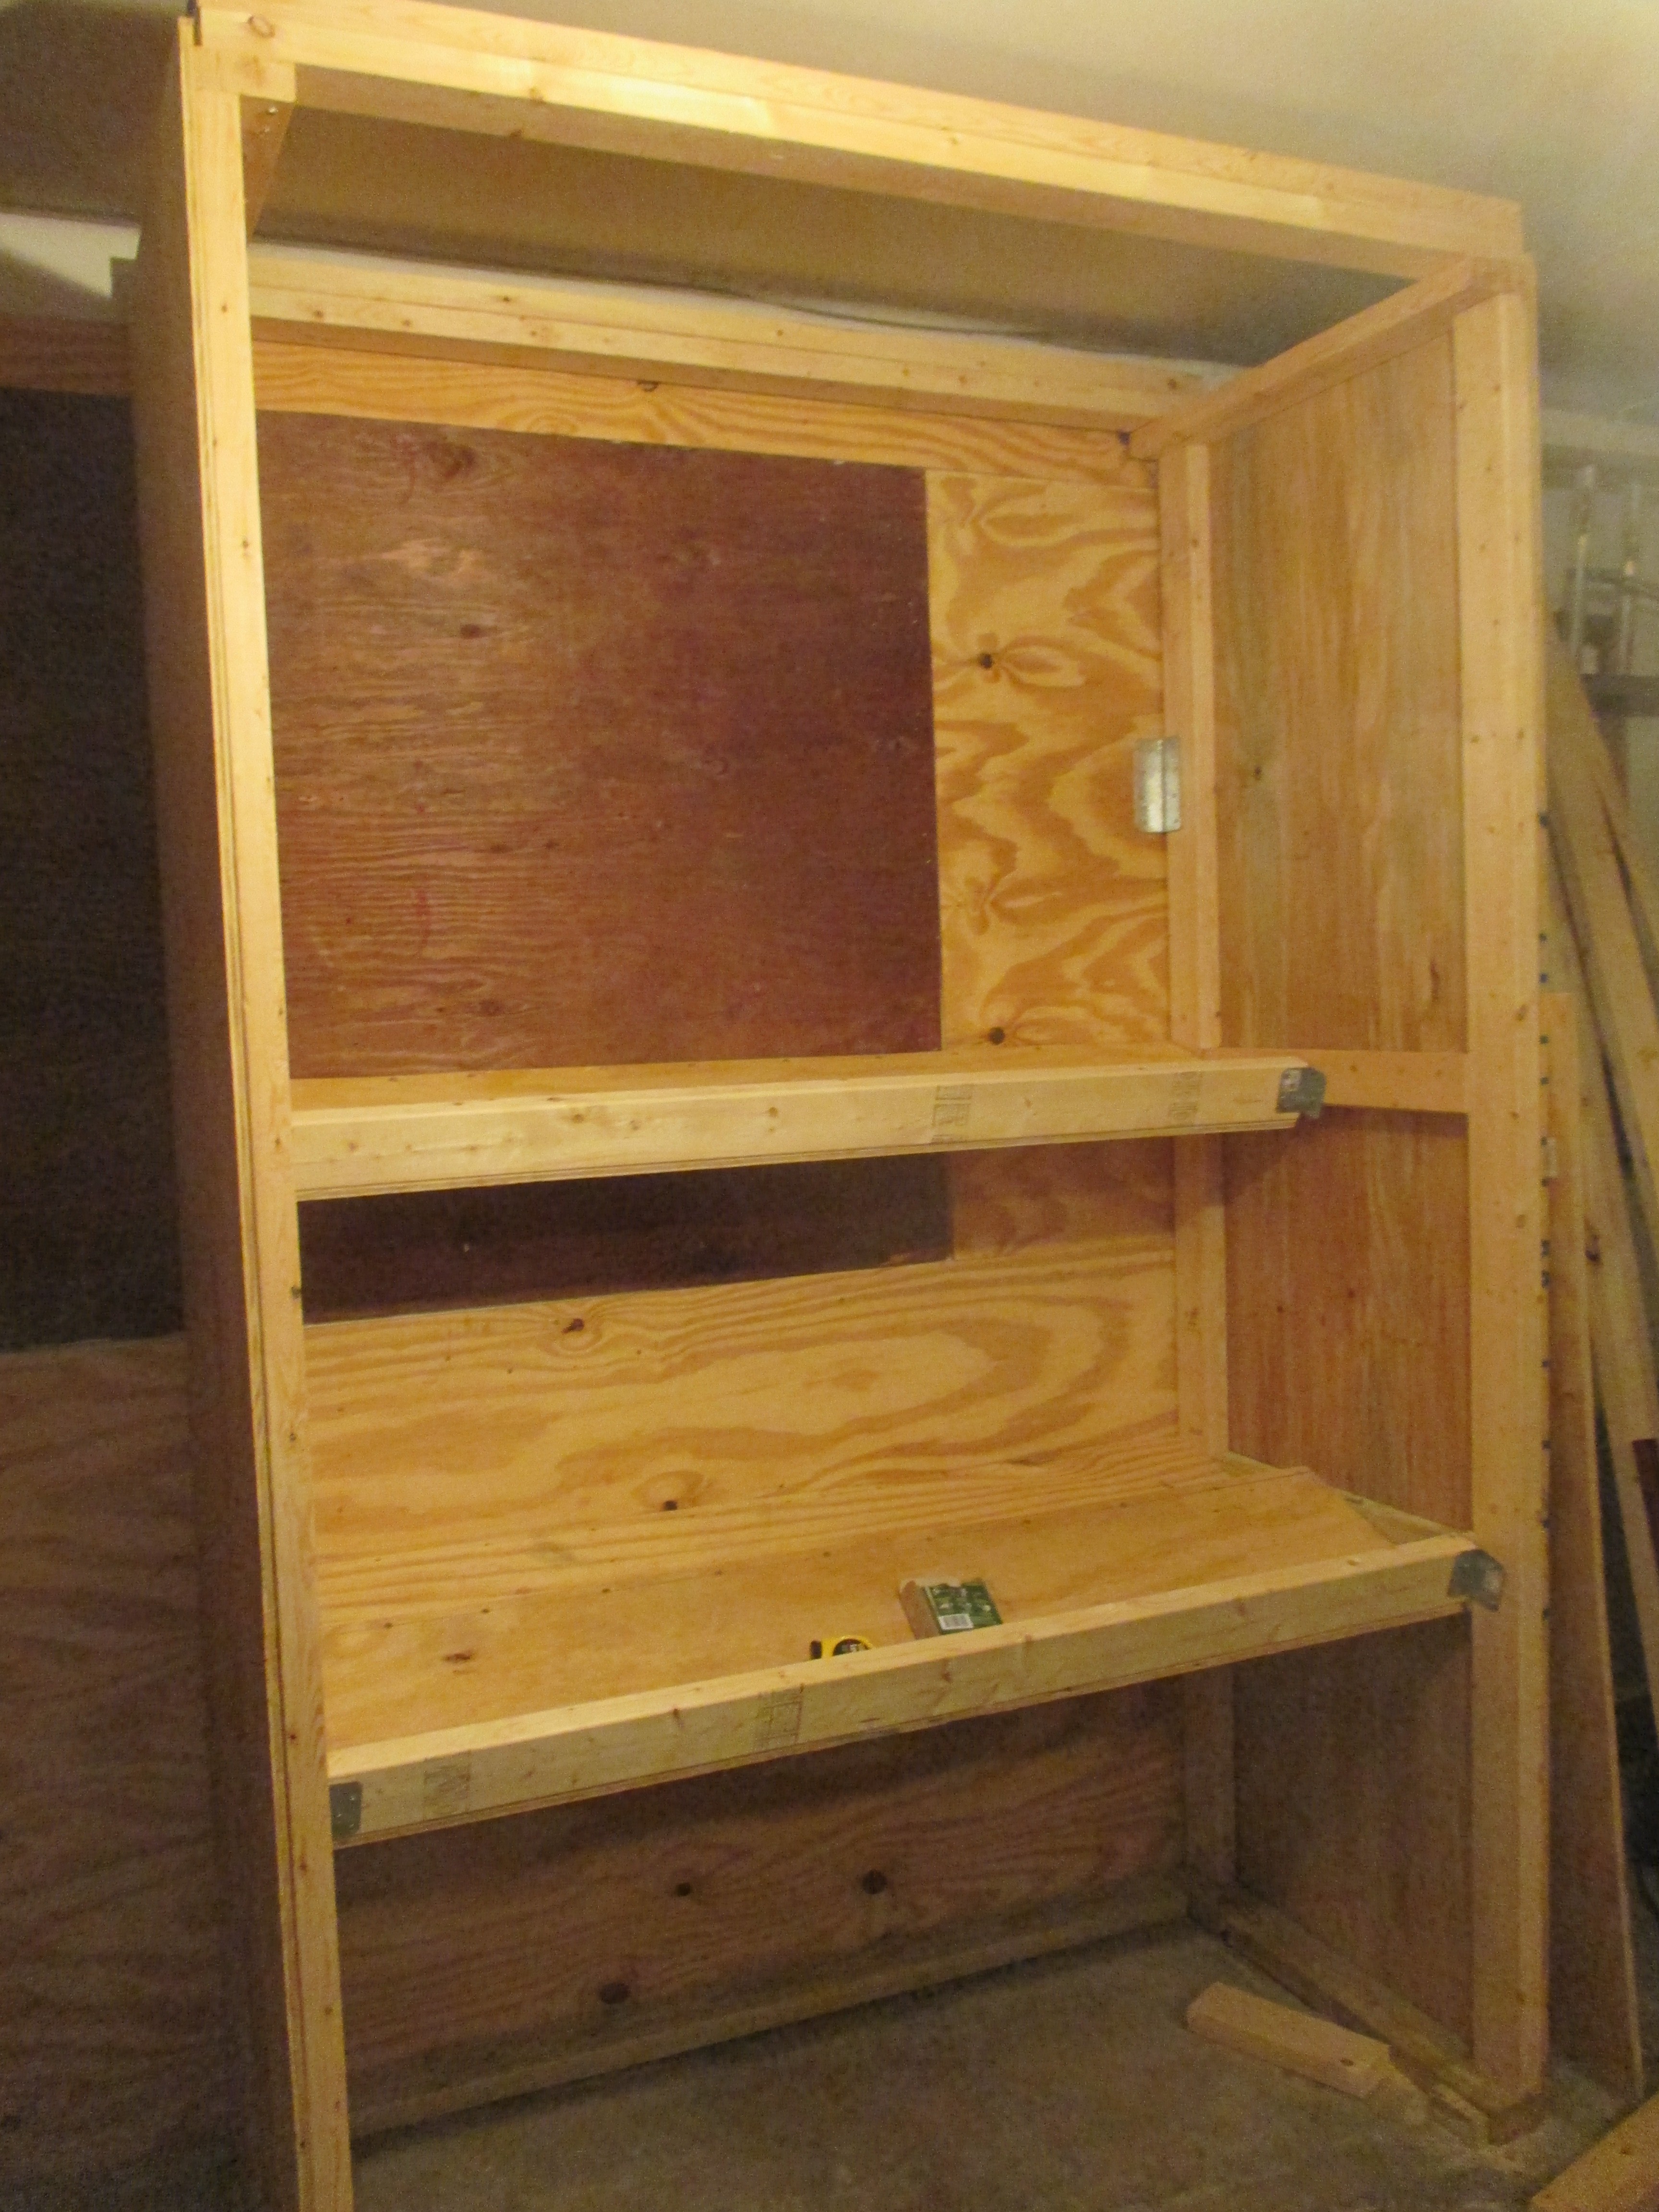
Still under construction, my garage “barrel room” will hold at least 15 six-gallon carboys of wine.
So, I’m constructing a garage “barrel room” that should be large enough to hold 15 six galloncarboys on three shelves, plus either large plastic fermenters, small oak barrels or more carboys on the floor. The shelves are installed at a 15 degree angle, which makes it easier to insert a wine thief or racking cane into the back shelf. By using a pump to move wine, I’ll never have to lift a full carboy.
The very top shelf will hold an assortment of one gallon jugs, supplies etc., and a 5,000 BTU air conditioner mounted near the top will keep it cool inside. I have most of the inside finished, but need to build the doors and mount the air conditioner.
I’m pretty pleased with the way this home “barrel room,” looks, and I have to credit Steve Hughes’ book,The Homebuilt Winery. The book includes the plans, but fair warning, the average person will probably want to spend some time studying and interpreting the plans. I’ve done a lot of home construction projects in my time, and I have a pretty complete workshop, but I still found some parts of these plant to be a chore to figure out. So, while I like the book a lot, I wish it had provided a bit more detail for some of the projects.
However, the idea for the barrel room was worth the cost of the book, and the plans were adequate to get me through the project. The book also gave me the inspiration to build a dolly to move the crusher-destemmer around, and there are a few other projects that I might eventually take on. For the really ambitious, he shows you how to build your own ratchet press and destemmer, and a dozen or so other things. All in all, it’s a book I’d recommend for the aspiring Garagista.
We’re hoping to harvest Viognier in just a few days, though with rain in sight, that may not happen. Hopefully the grapes have another week in them before they start to become over-ripe. I was thinking of picking last week, but the brix (sugar level) was at 21, a few points lower than I wanted. The decision on when to harvest is based on lots of things, including ripenesss and the weather forecast, and you don’t always get the perfect combination. Waiting can be stressful, and it was hard to resist picking those Viognier grapes last week. A friend at a nearby winery counseled me to wait and deal with the stress, adding, “don’t lose your nerve!”
Well, I haven’t. At least not yet!
Tempranillo, Part III
On the eve of our departure for WineMaker magazine’s annual conference, hosted in Monterrey, California, this year, I expressed some regret to the Vineyard Goddess that I didn’t have a bottle of home-made wine to take with me for one of the tasting events. I had bottled my Tempranillo some 35 days earlier, and while it was just past the bottle shock stage, I had not yet tasted it (and it was way too late to try it that night). For all I knew, it was plonk.

My bottle is the one in the foreground with no label.
“Take it anyhow,” the VG told me. “Take two bottles. We can taste one on the first part of the trip, and if it’s good, you can take the other one to the tasting.”
Sage advice. I packed two, using my newly minted method of wrapping the bottles in bubble wrap (replacing my old method of wrapping them in t-shirts), and told myself we’d taste the first bottle when we arrived in Sedona on the first leg of our journey. As it turned out, I didn’t get to it until we reached the Grand Canyon for the second leg of the trip.
And what a surprise! It wasn’t the vintage of the century, but it was definitely good. I knew I had made some mistakes in the process, especially in the area of temperature control (overheating it at some points, and not keeping it warm enough at others), but it was still a good, solid drinkable wine. So, I felt confident that I could hold my own with the other winemakers, or at least not get ridden out of town on a rail.
The comments were generally favorable. The 100 or so winemakers who gathered for the tasting were seated at round tables of 10, and half the table rotated every ten minutes to be paired with new tasting partners. We tasted each other’s wine and provided feedback. I’d like to say that everyone was totally, if not brutally, honest, but I suspect we were more diplomatic than candid.
So, here are some of the comments:
“Young, but very hearty. As it ages, it will become a very nice wine.” (Oh, yeah, as it ages — someday it will be a decent wine!)
“Good tannins, good acidity, nicely balanced.”
“Good color, very dry. Nice tannins and structure.”
“Crisp acidity, not quite as much fruit as I’d like to see.”
Well, that’s as far as my notes go. Nobody was talking about long finishes or specific kinds of fruit on the nose or palate, but all in all, for a first outing, it wasn’t bad. As I said in a Facebook post, I had walked in with nightmares that my fellow tasters would spit my wine on the floor and then throw me out of the room. It was a relief to see that they all stayed and finished their taste of Bob’s Tempranillo.
Tempranillo, Part II: The Hydrometer Never Lies
I was pretty excited last Monday when I began making six gallons of Tempranillo wine. I thought I had been pretty clever in the way I had gotten the temperature just right before pitching the yeast, and I was pretty confident that things would go well.
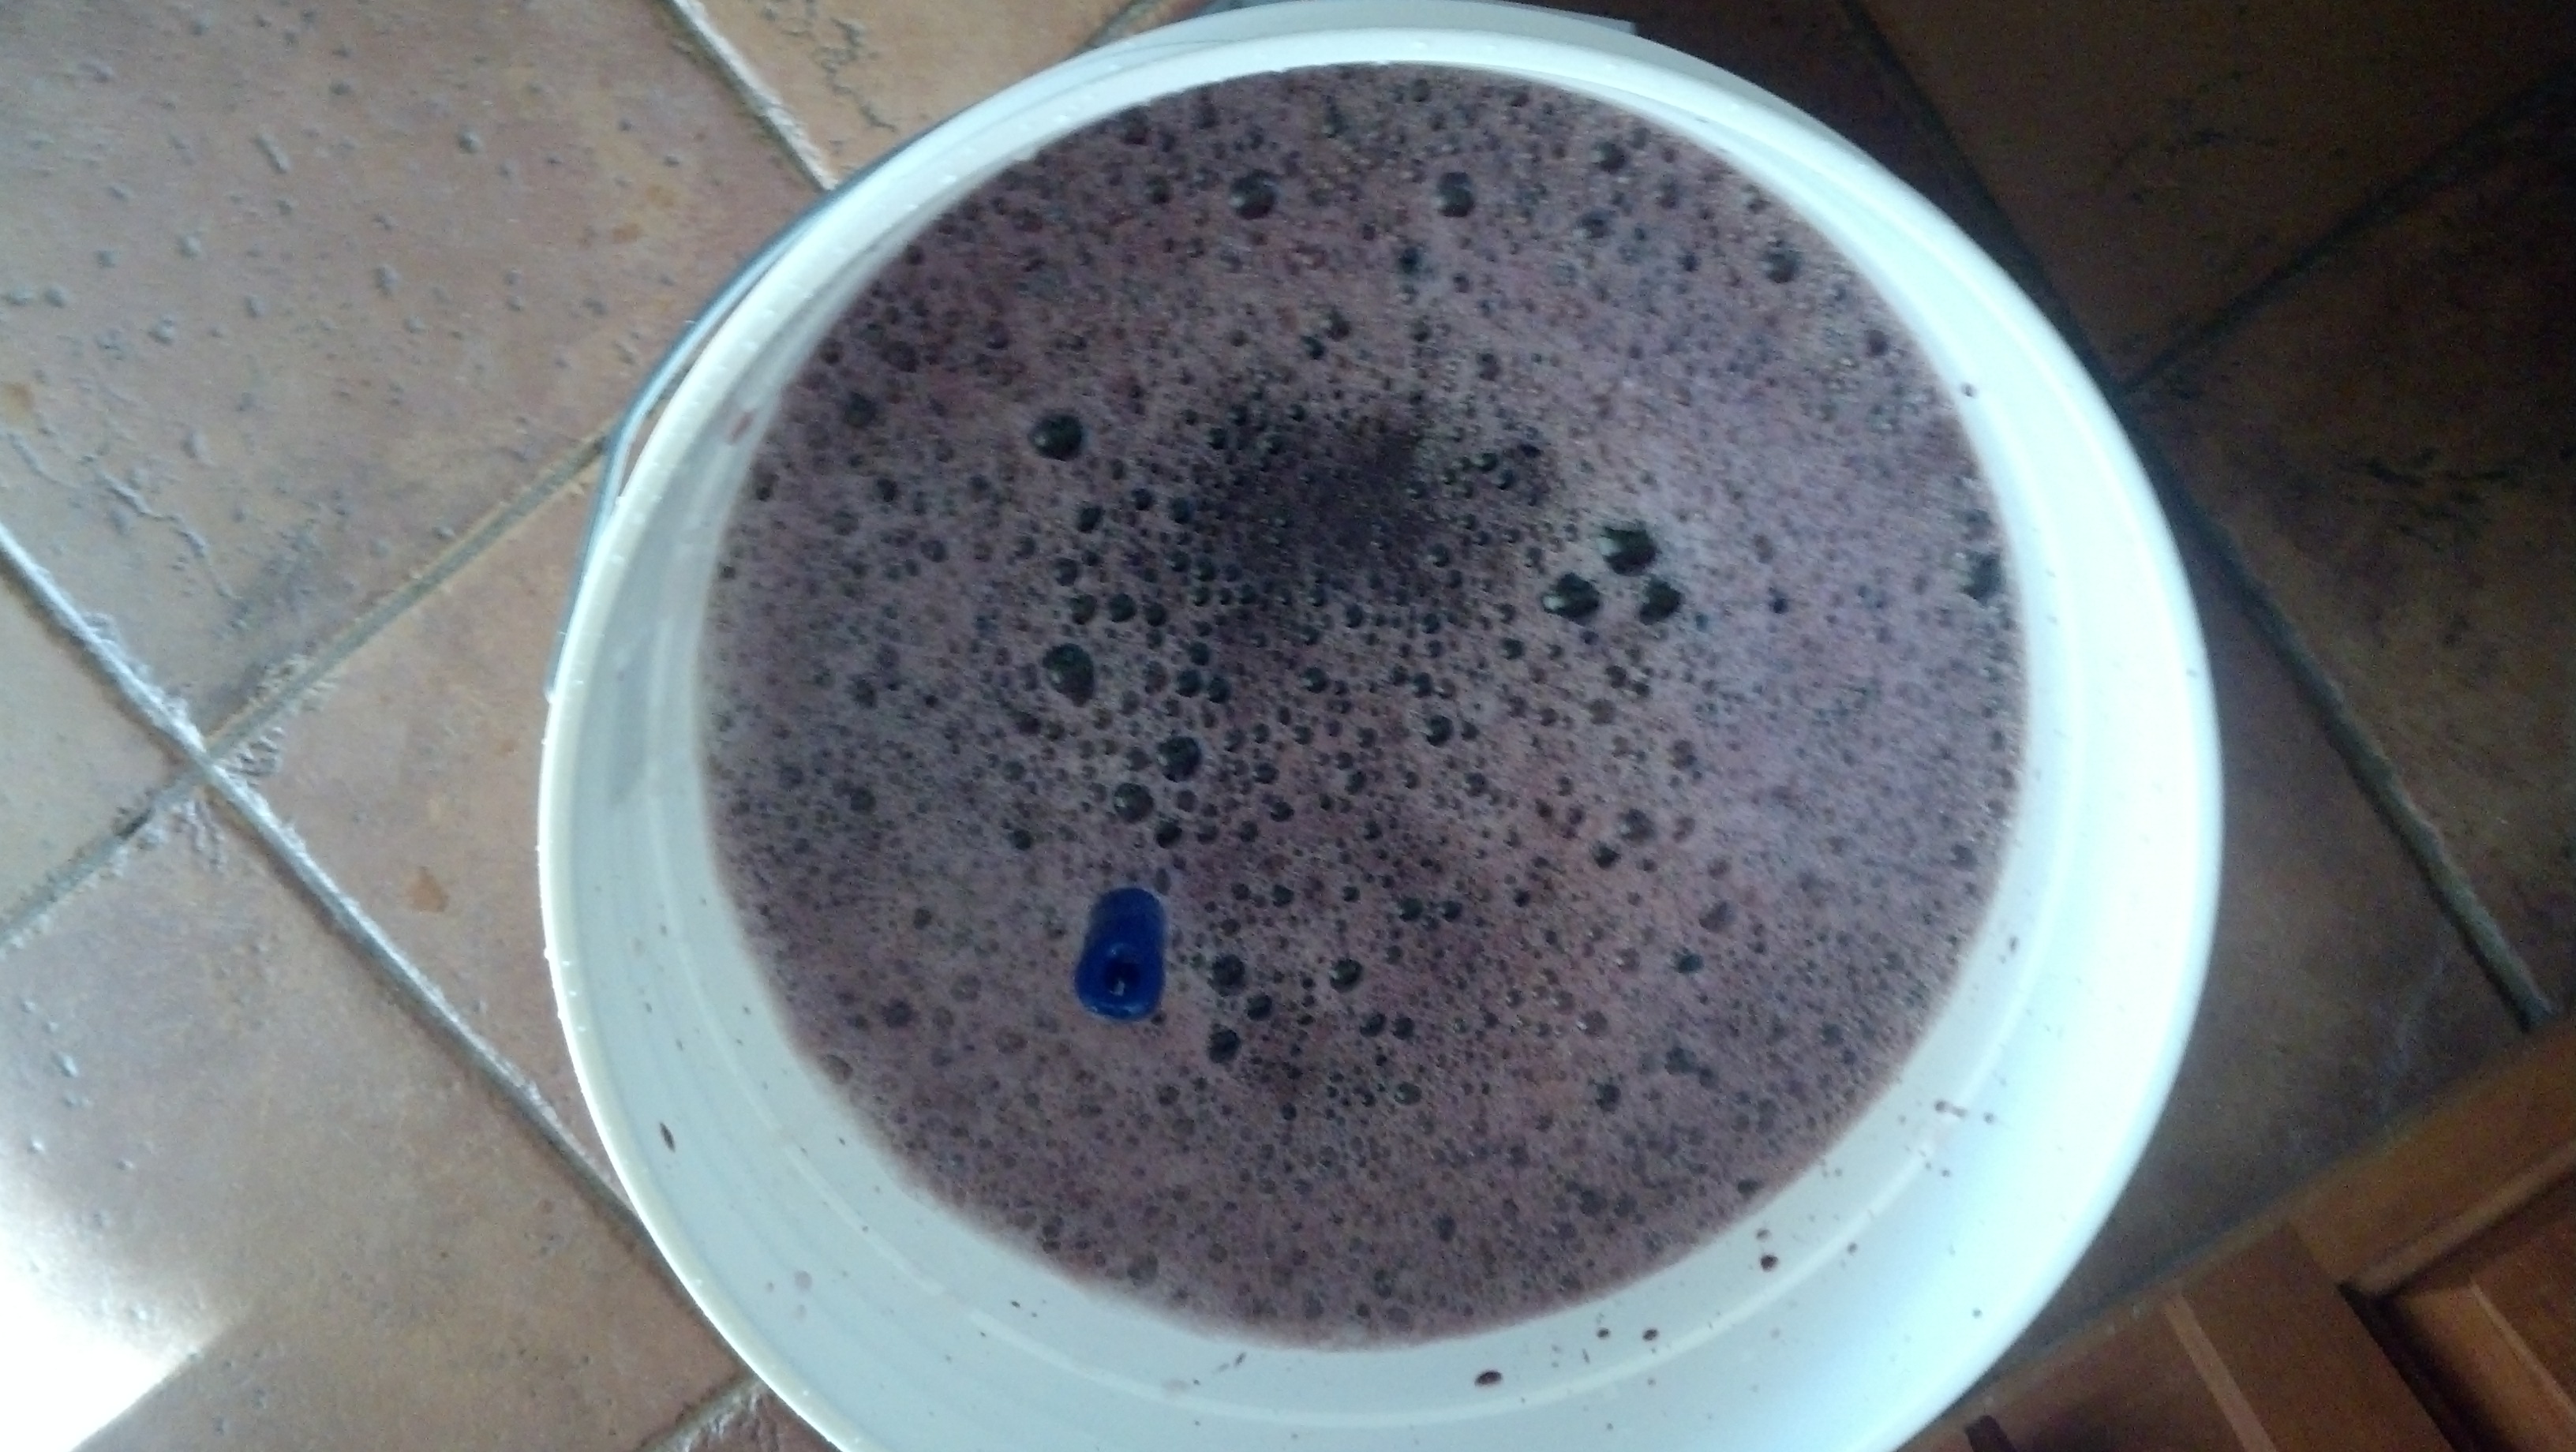
The must on Day One, floating thermometer barely visible..
And 24 hours after inoculating the unfermented must with yeast, I was pretty sure fermentation was well underway. The airlock was beginning to accumulate carbon dioxide, or CO2, bubbles and there was a fragrance in the air that I have always associated with fermentation. Also, there was a loud hissing sound inside the primary fermenter said there was something alive and growing inside. Yeast is a truly amazing microorganism.
Forty-eight hours in, I was beginning to worry. The airlock wasn’t bubbling up and down in the vigorous way I had expected, and I wondered if the fermentation had become stuck. Or worse, if it had actually been stillborn, and I had only been deluding myself the day before. I punched down the grape skins for a couple of minutes (the grape skins are pushed to the top of the fermentation vessel by the CO2 released during fermentation, and they must be “punched down” daily to ensure proper contact with the must – more on this in a later post) and then checked the temperature.
The results were a bit scary – almost 90 degrees. Apparently the heater I was using was a blunter tool than I had thought. That seemed a bit unjust. The last time I made wine, fermentation took forever, and was briefly stuck because I had let the house get too cold. Now, I had apparently gone too far in the other direction.
On Thursday, I was feeling even worse about the fermentation. I had shut down the heater, and the temperature had dropped to the low eighties.
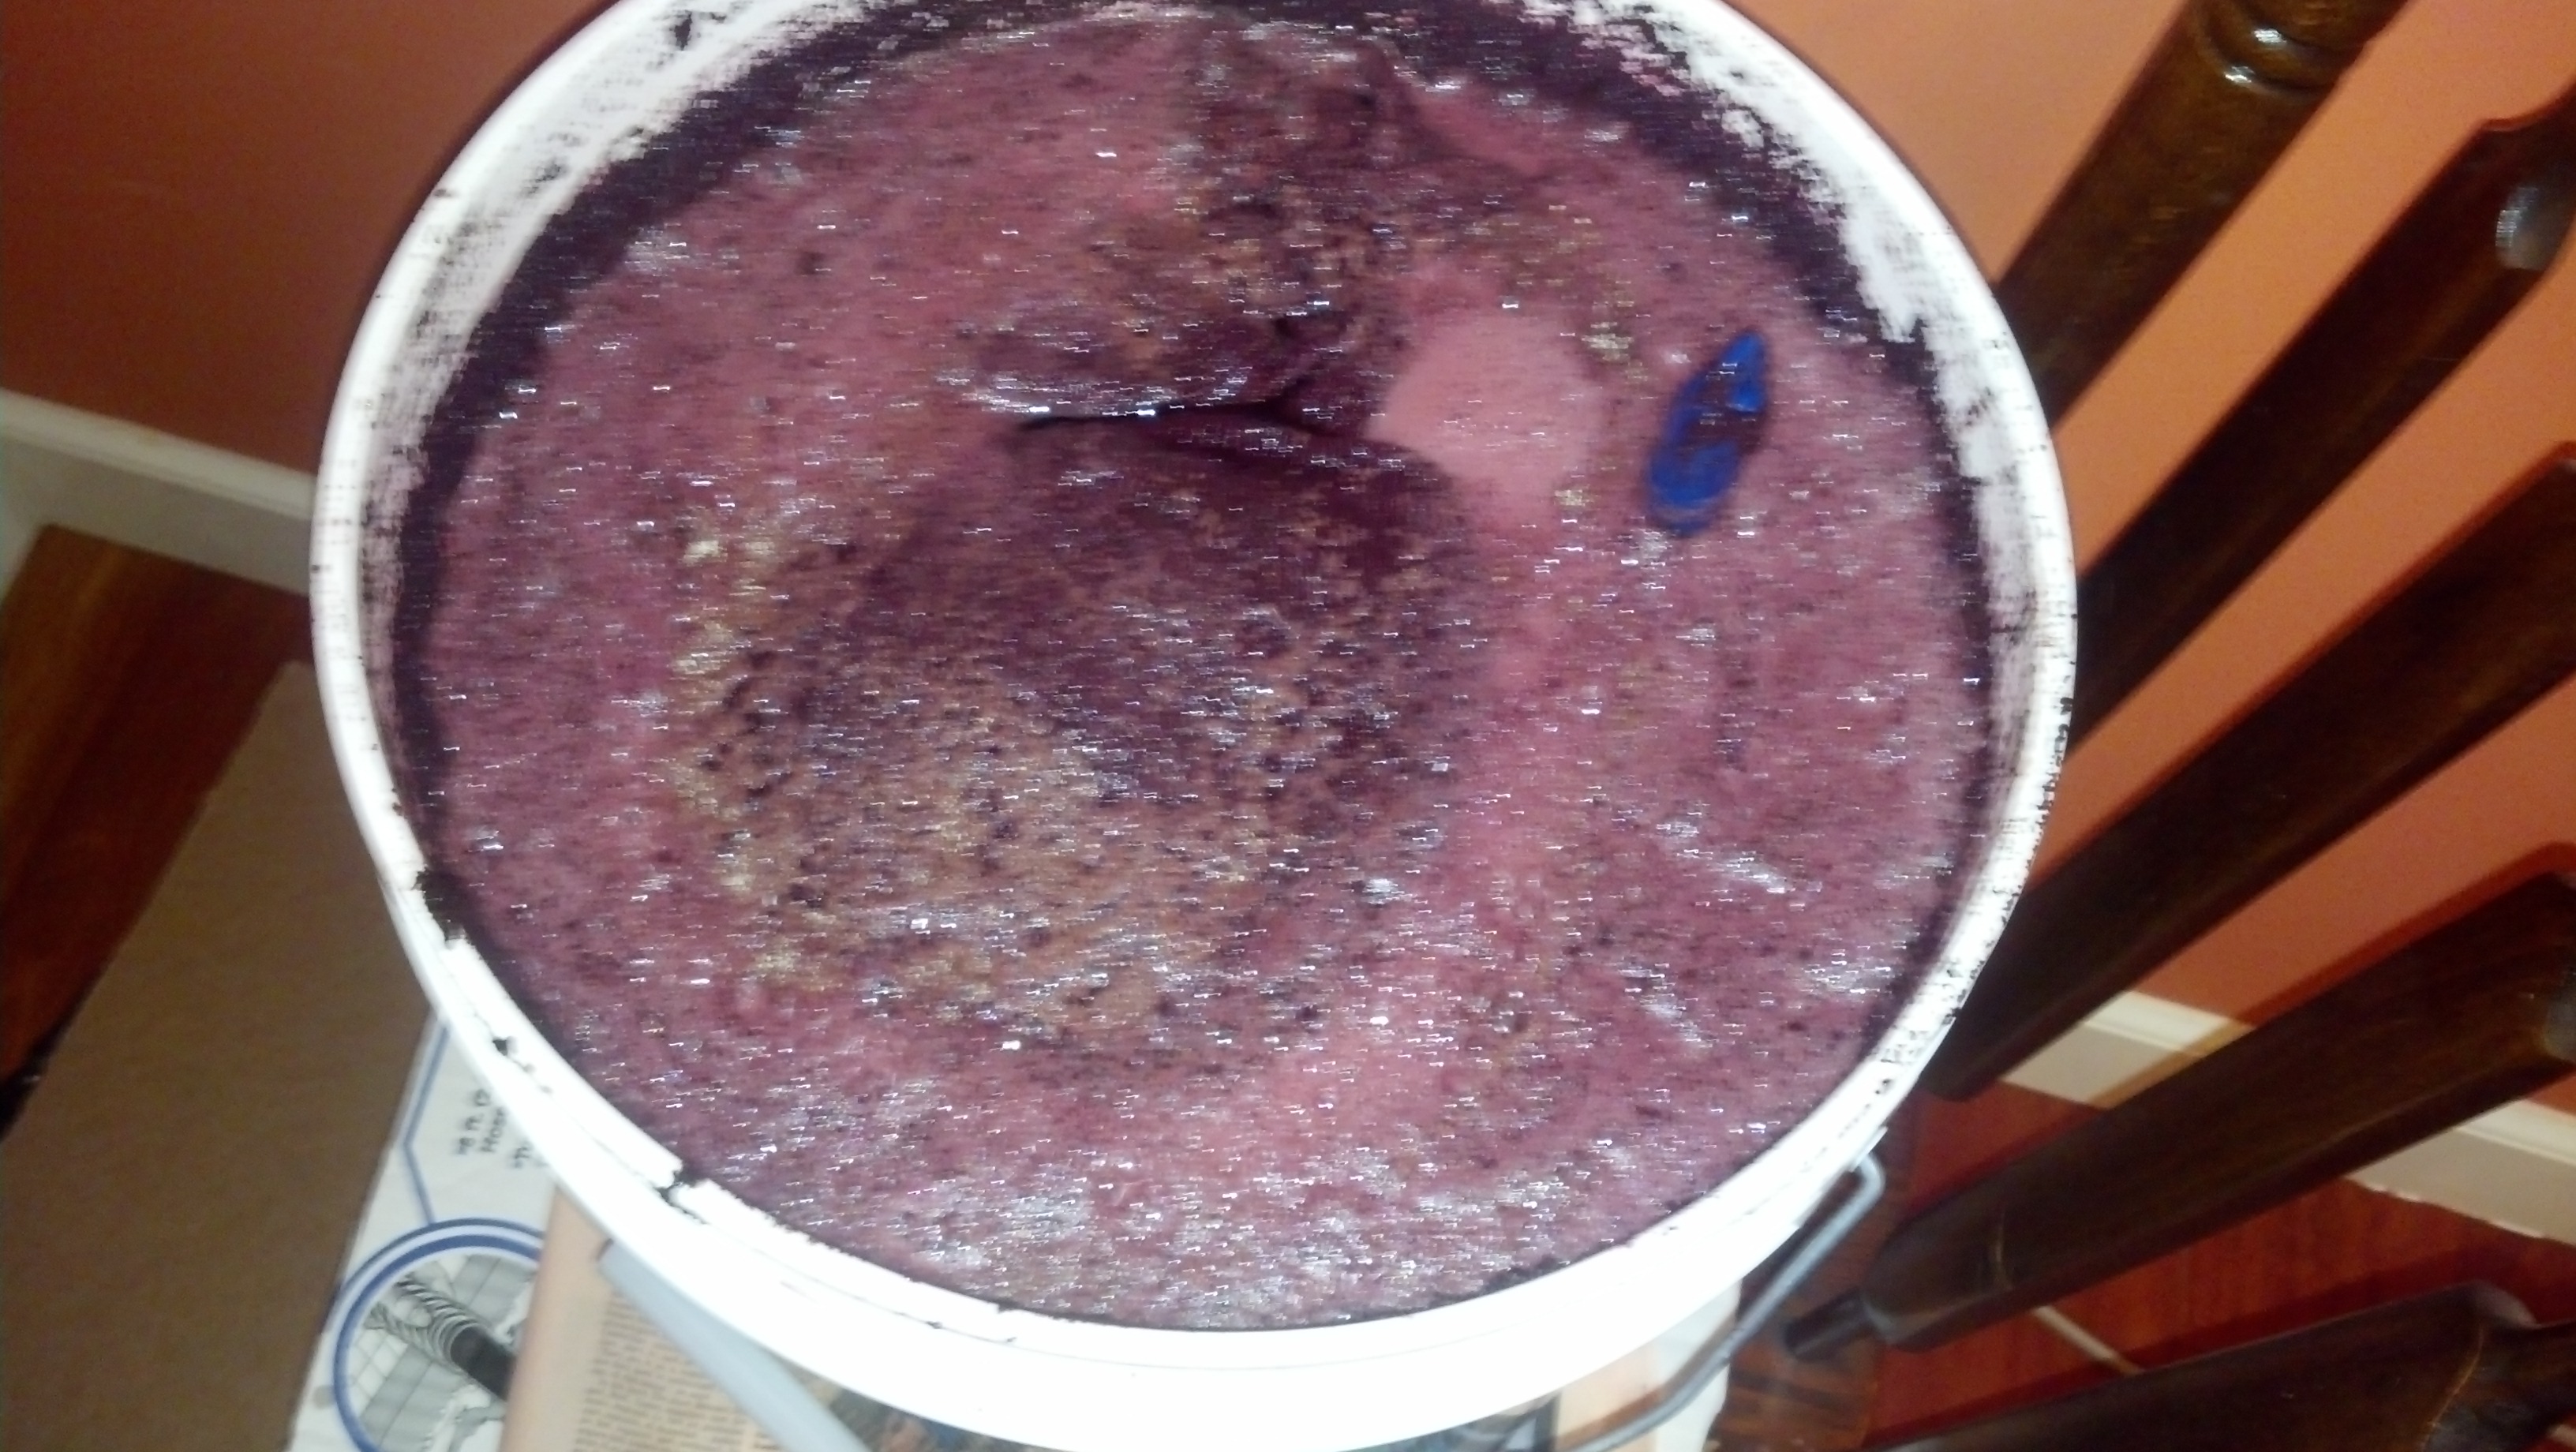
twenty-four hours later, fermentation appeared to be clearly underway.
Better for fermentation, but probably still a bit too hot to re-inoculate. I knew I could get the temperature down, but I wasn’t really sure how to go about reinoculating.
I had packages of two different kinds of yeast: RC212, which was the particular kind of yeast that came with the kit, and EC1118, a champagne yeast that is also supposed to be good for restarting stuck fermentations. I wasn’t sure which to use, whether I should rehydrate the yeast with some of the juice before pitching it, or whether I should get the temperature down first. So, I called the company’s technical support line.
I was using a Winexpert kit, and I can’t begin to say enough about their customer support. I got a real person on the phone in a couple of minutes, and she was terrific. Here’s how the conversation went (picking up after I explained the problem):
She: What was the specific gravity when you pitched the yeast?
Me: 1.082
She: What is it now?
Me: I haven’t checked, but since it doesn’t seem to be fermenting, I assume it’s still right around 1.08.
She: You need to check. Give me your number, and I’ll call you back in ten minutes while you take a reading.
Me: OK.
After about ten minutes, she called back.
Me: I just finished sanitizing the hydrometer and wine thief and I’m just filling the tube (for the hydrometer).
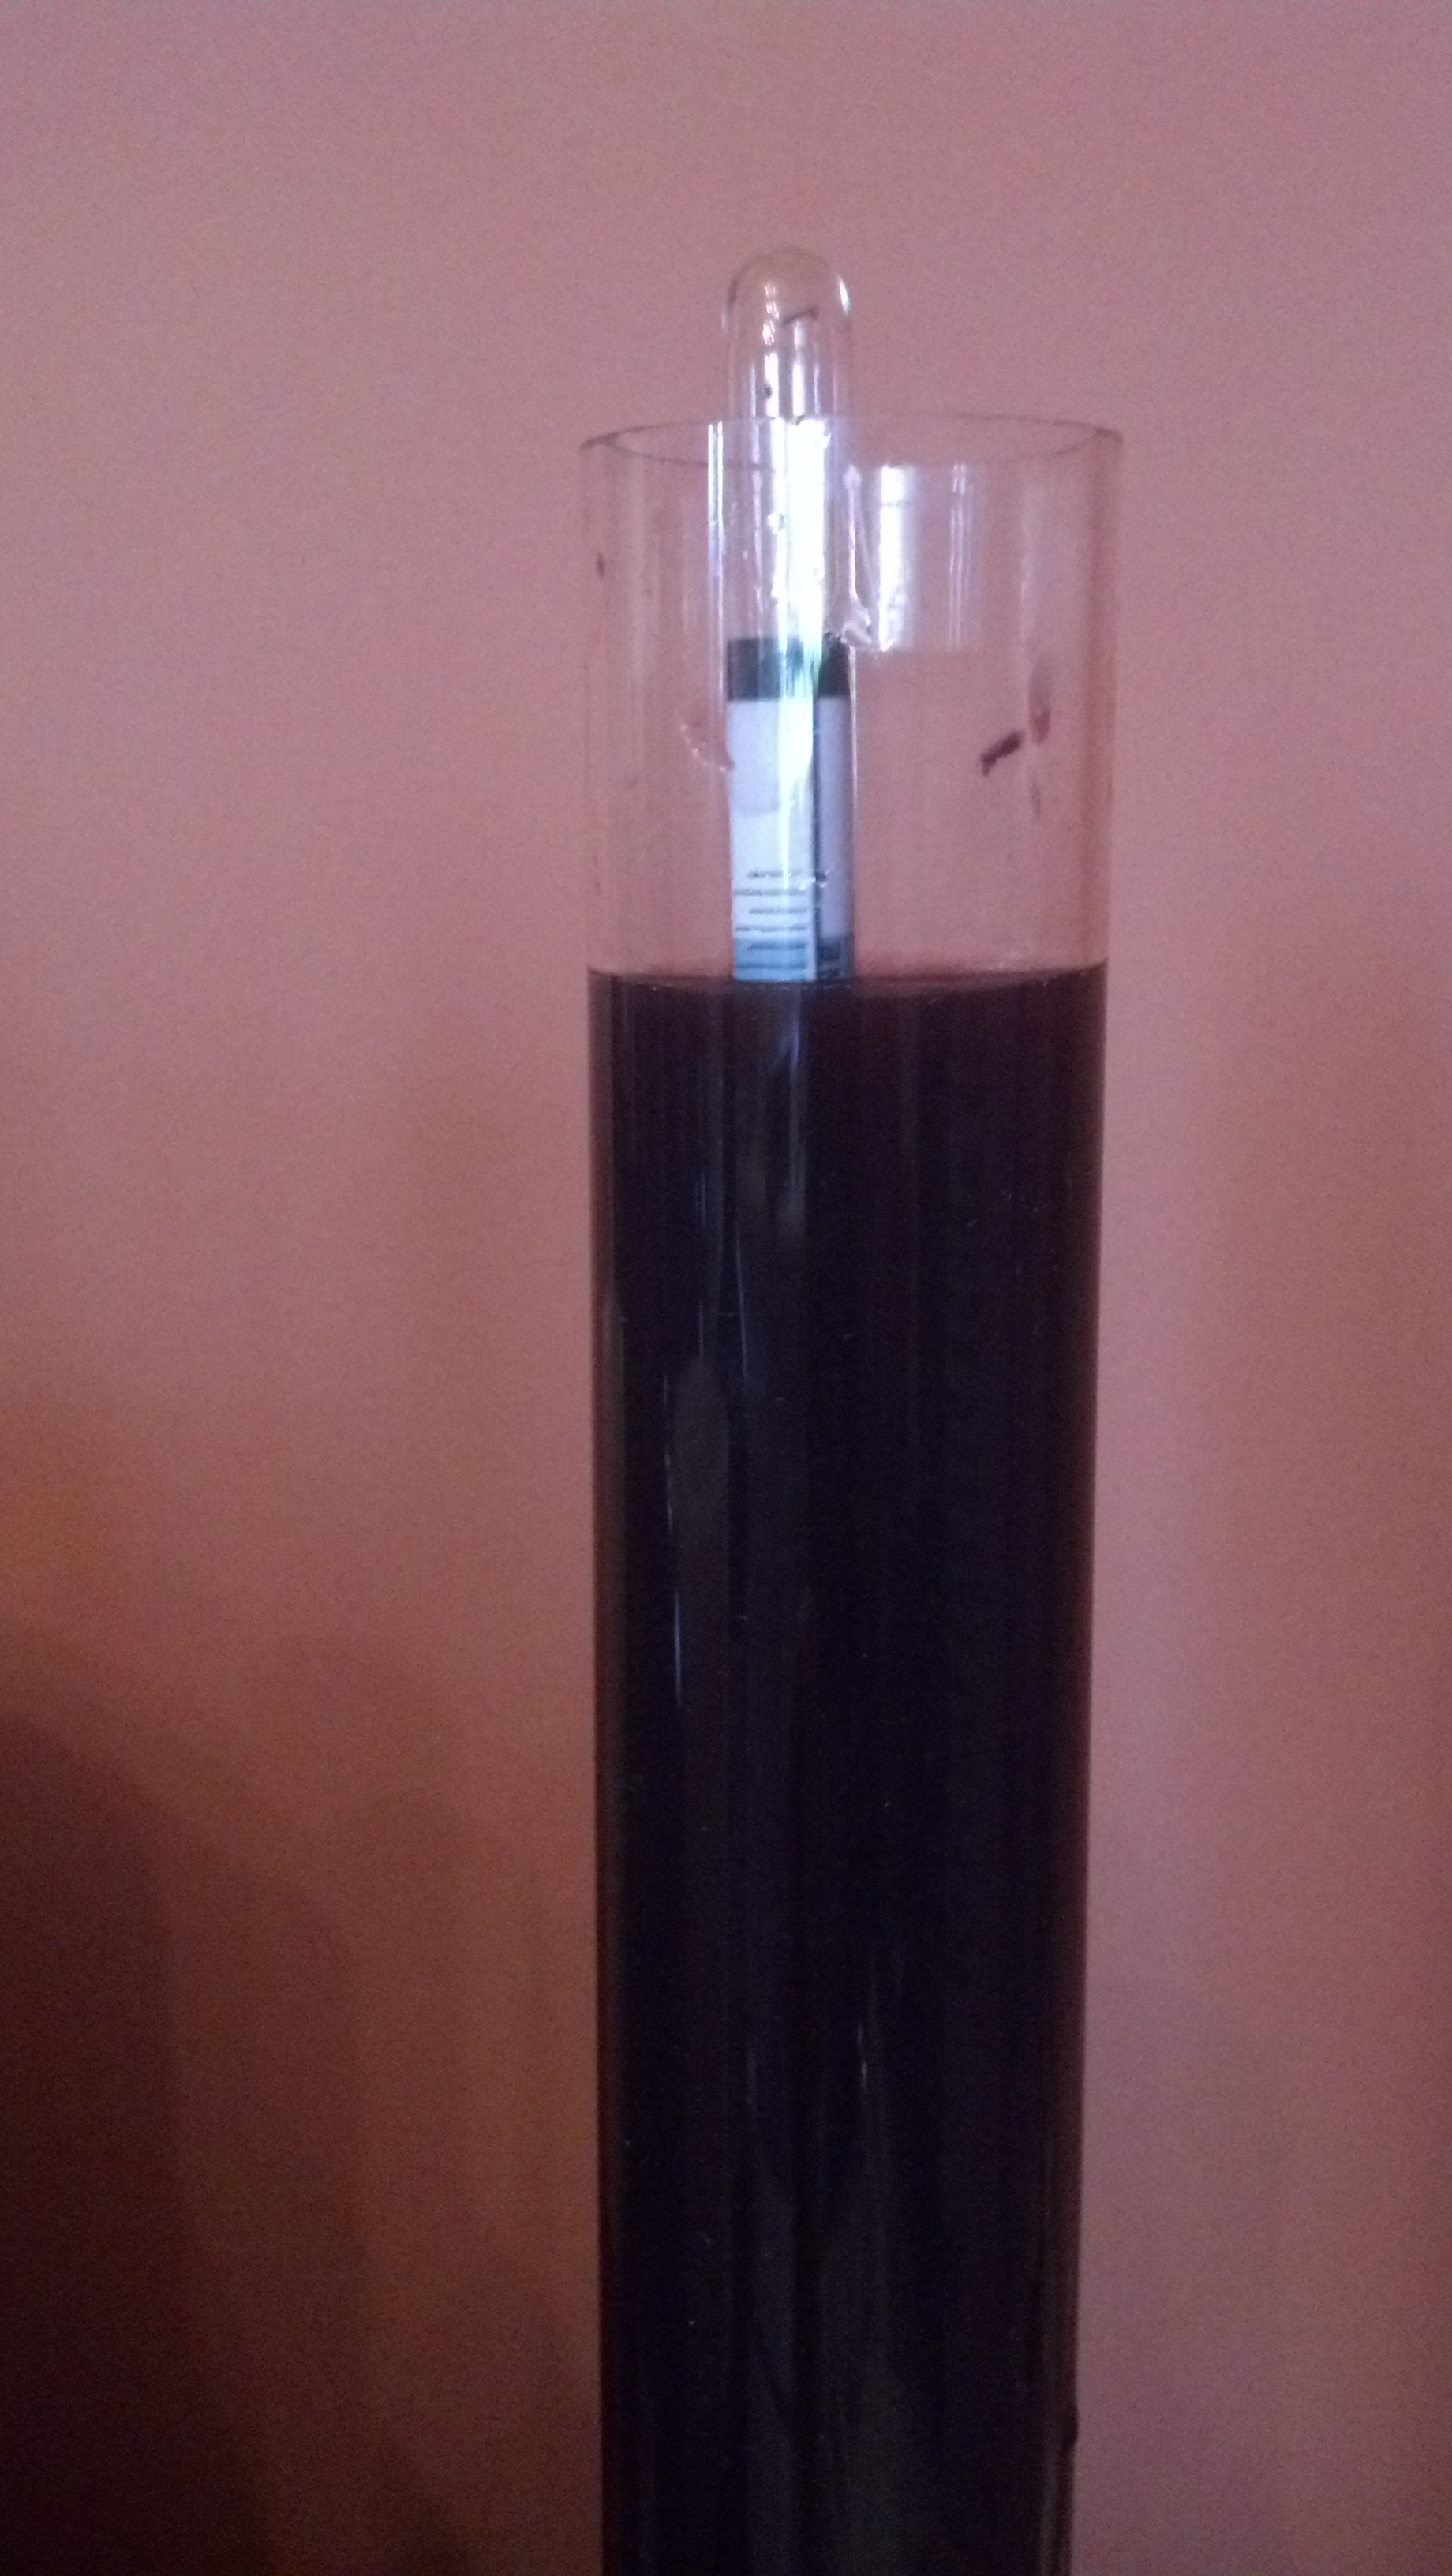
Here’s the hydrometer, still bobbing up and down in the test tube.
She: OK.
Me: Uh. . . Can this possibly be right? It looks like it’s 1.02.
She: You got it! It’s working.
Me: Uhhhh . . . yes, it is. (but thinking, yes, I am an idiot. . .)
What I learned from her was to rely on the hydrometer, not my visual checks. She was good enough to stay on the phone with me for another five minutes to talk about winemaking and to answer a few more questions about the kit. Honestly, it was one of the best customer support experiences I’ve ever had.
So, I let the wine continue fermenting. Twenty four hours later, the specific gravity was down to 1.011, and the night after that, it was just a hair over 1.000, maybe 1.001. Sunday morning, I’ll check again, and I think it will be time to rack it into a carboy for the secondary fermentation.
Meanwhile, I’m planning to start making a new batch of wine in a week or two, this time Winexpert’s Lodi Ranch 11 Cabernet Sauvignon. And I’ll be relying less on visual observations and more on things I can measure, like temperature, pH, and specific gravity.
After all, your eyes may deceive you, but the hydrometer never lies.
Making Tempranillo, Part I
So much of what I’ve written on Project Sunlight has to do with the vineyard – planting vines and tending them until they’re ready for that first harvest. Well, okay, we’re actually a long ways from that first harvest, so in fact most of what I’ve written has to do with that first year in the vineyard, from preparing the ground to planting and caring for the vines over the course of that year. Someday soon, I hope to write the next chapter, the one that has to do with turning simple grapes into something noble. But we have at least another two years before we take that step and make wine from our grapes.
And yet, I want to make wine – now. So, what to do? I am very hopeful that next fall I’ll be able to buy fresh fruit from somebody else’s vineyard, and make wine from those grapes. But that’s a long ways away, and I’m feeling a need to get some experience with the whole process of fermentation before I start playing with freshly harvested grapes. It’s also possible I’ll be able to buy some grapes shipped in from Chile in the next month or so (the southern hemisphere runs opposite to our world – our fall is their spring, and their spring is our fall), but I’m not sure about that.
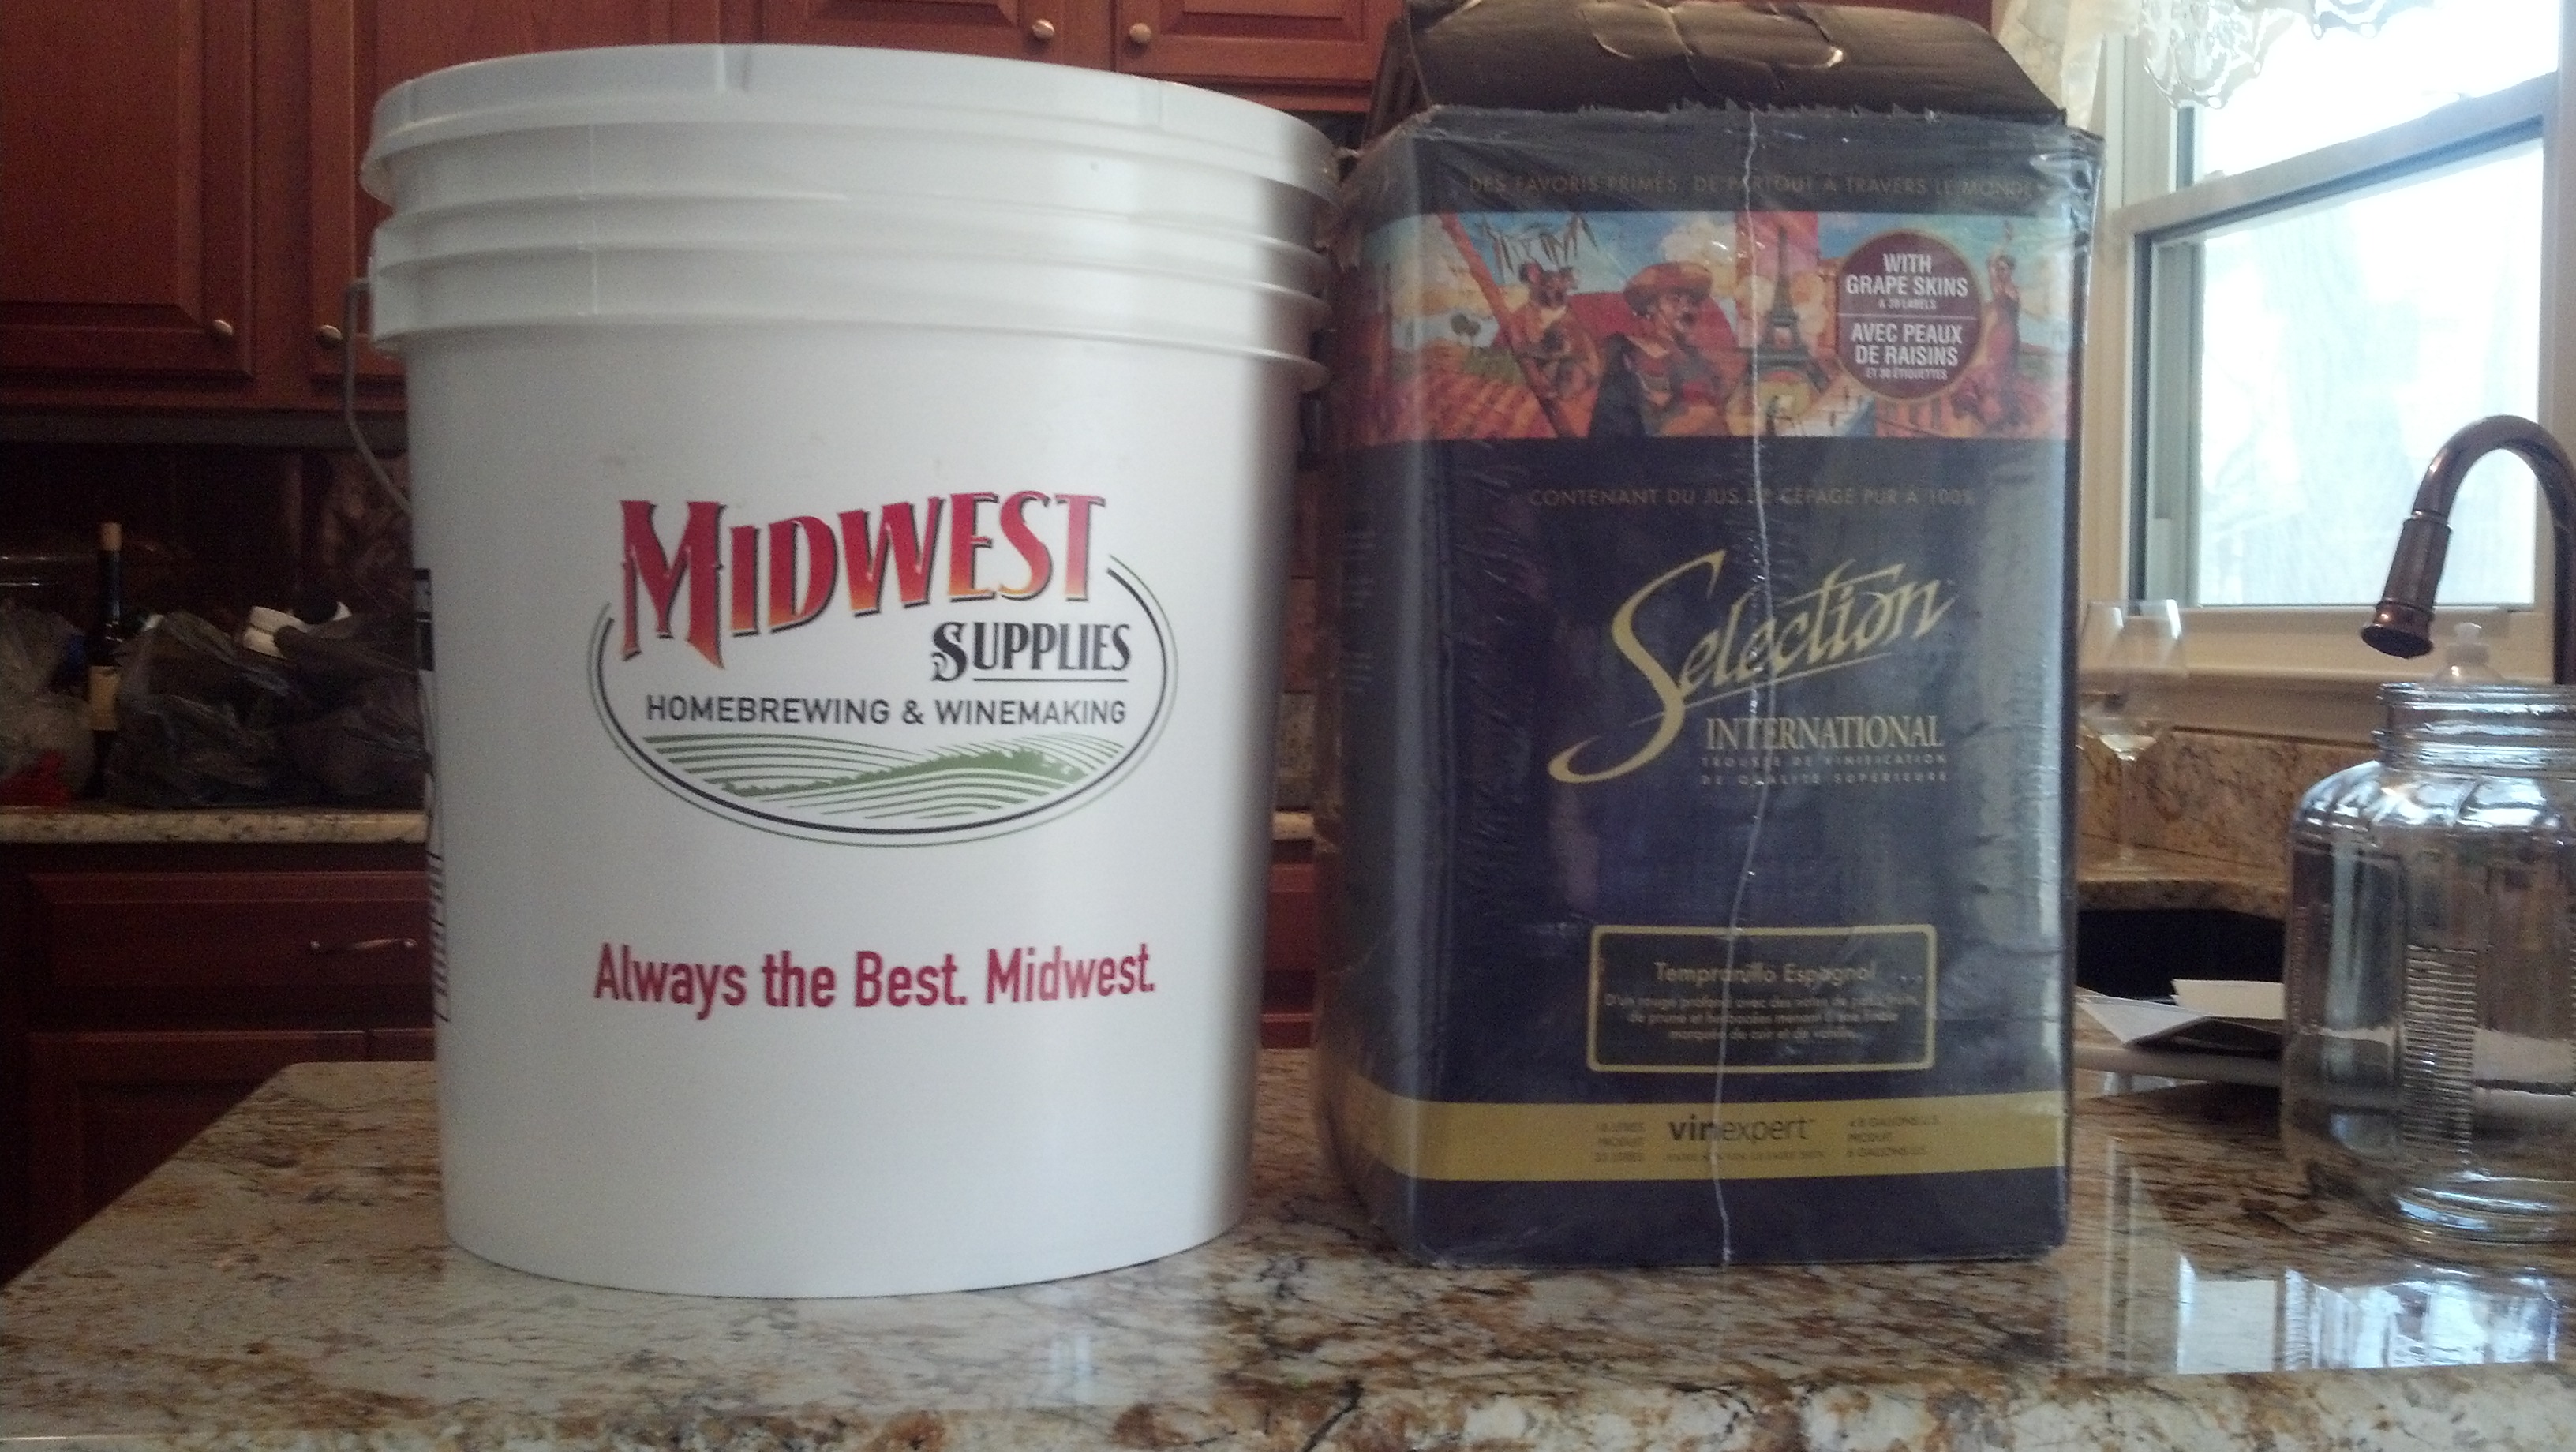
Here’s the 7.9 gallon fermentation bucket next to the box containing the juice and grape skins
Wine kits, though, offer a world of possibilities – literally. You can get kits that contains juice and crushed grapes from Argentina’s Mendoza region or South Africa’s Western Cape. You can buy Chilean Cabernet Sauvignon or Australian Shiraz or Oregon Pinot Noir, for that matter, and make those wines at home whenever you want.
Years ago, I turned my nose up at the idea of making wine from a kit. But from what I’ve read over the past few years, kits have gotten better and better. Two years ago, after receiving a starter set with all the equipment from my daughter as a Christmas gift, I tried my hand at one. I made so many mistakes that I should have been grateful to have ended up with decent vinegar. But I worked hard at it, and when I was finished I decided that the very least I could say about it is that it was honest to God wine.
I wondered if that would be the most I would ever be able to say about it as well, and I suppose the answer is somewhere in the middle. It wasn’t great wine, but my kids liked it well enough to ask me to bring a couple of bottles with me when I traveled out to visit (in California, no less), so it at least found an audience. And every time I open a bottle, I tell myself, “Hey – this ain’t so bad.” And yes, I know – that’s a pretty low hurdle.
In any event, I decided to try my hand at it again. This time, I’m making a Spanish Tempranillo, one of my favorite varietals. The kit was made by Winexpert, and it came with a bladder of juice, a smaller bladder of crushed grapes, and of course all of the yeast, fining agents and the like that one needs to turn the juice into wine. Continue Reading–>


Recent Comments