Making Tempranillo, Part I
So much of what I’ve written on Project Sunlight has to do with the vineyard – planting vines and tending them until they’re ready for that first harvest. Well, okay, we’re actually a long ways from that first harvest, so in fact most of what I’ve written has to do with that first year in the vineyard, from preparing the ground to planting and caring for the vines over the course of that year. Someday soon, I hope to write the next chapter, the one that has to do with turning simple grapes into something noble. But we have at least another two years before we take that step and make wine from our grapes.
And yet, I want to make wine – now. So, what to do? I am very hopeful that next fall I’ll be able to buy fresh fruit from somebody else’s vineyard, and make wine from those grapes. But that’s a long ways away, and I’m feeling a need to get some experience with the whole process of fermentation before I start playing with freshly harvested grapes. It’s also possible I’ll be able to buy some grapes shipped in from Chile in the next month or so (the southern hemisphere runs opposite to our world – our fall is their spring, and their spring is our fall), but I’m not sure about that.
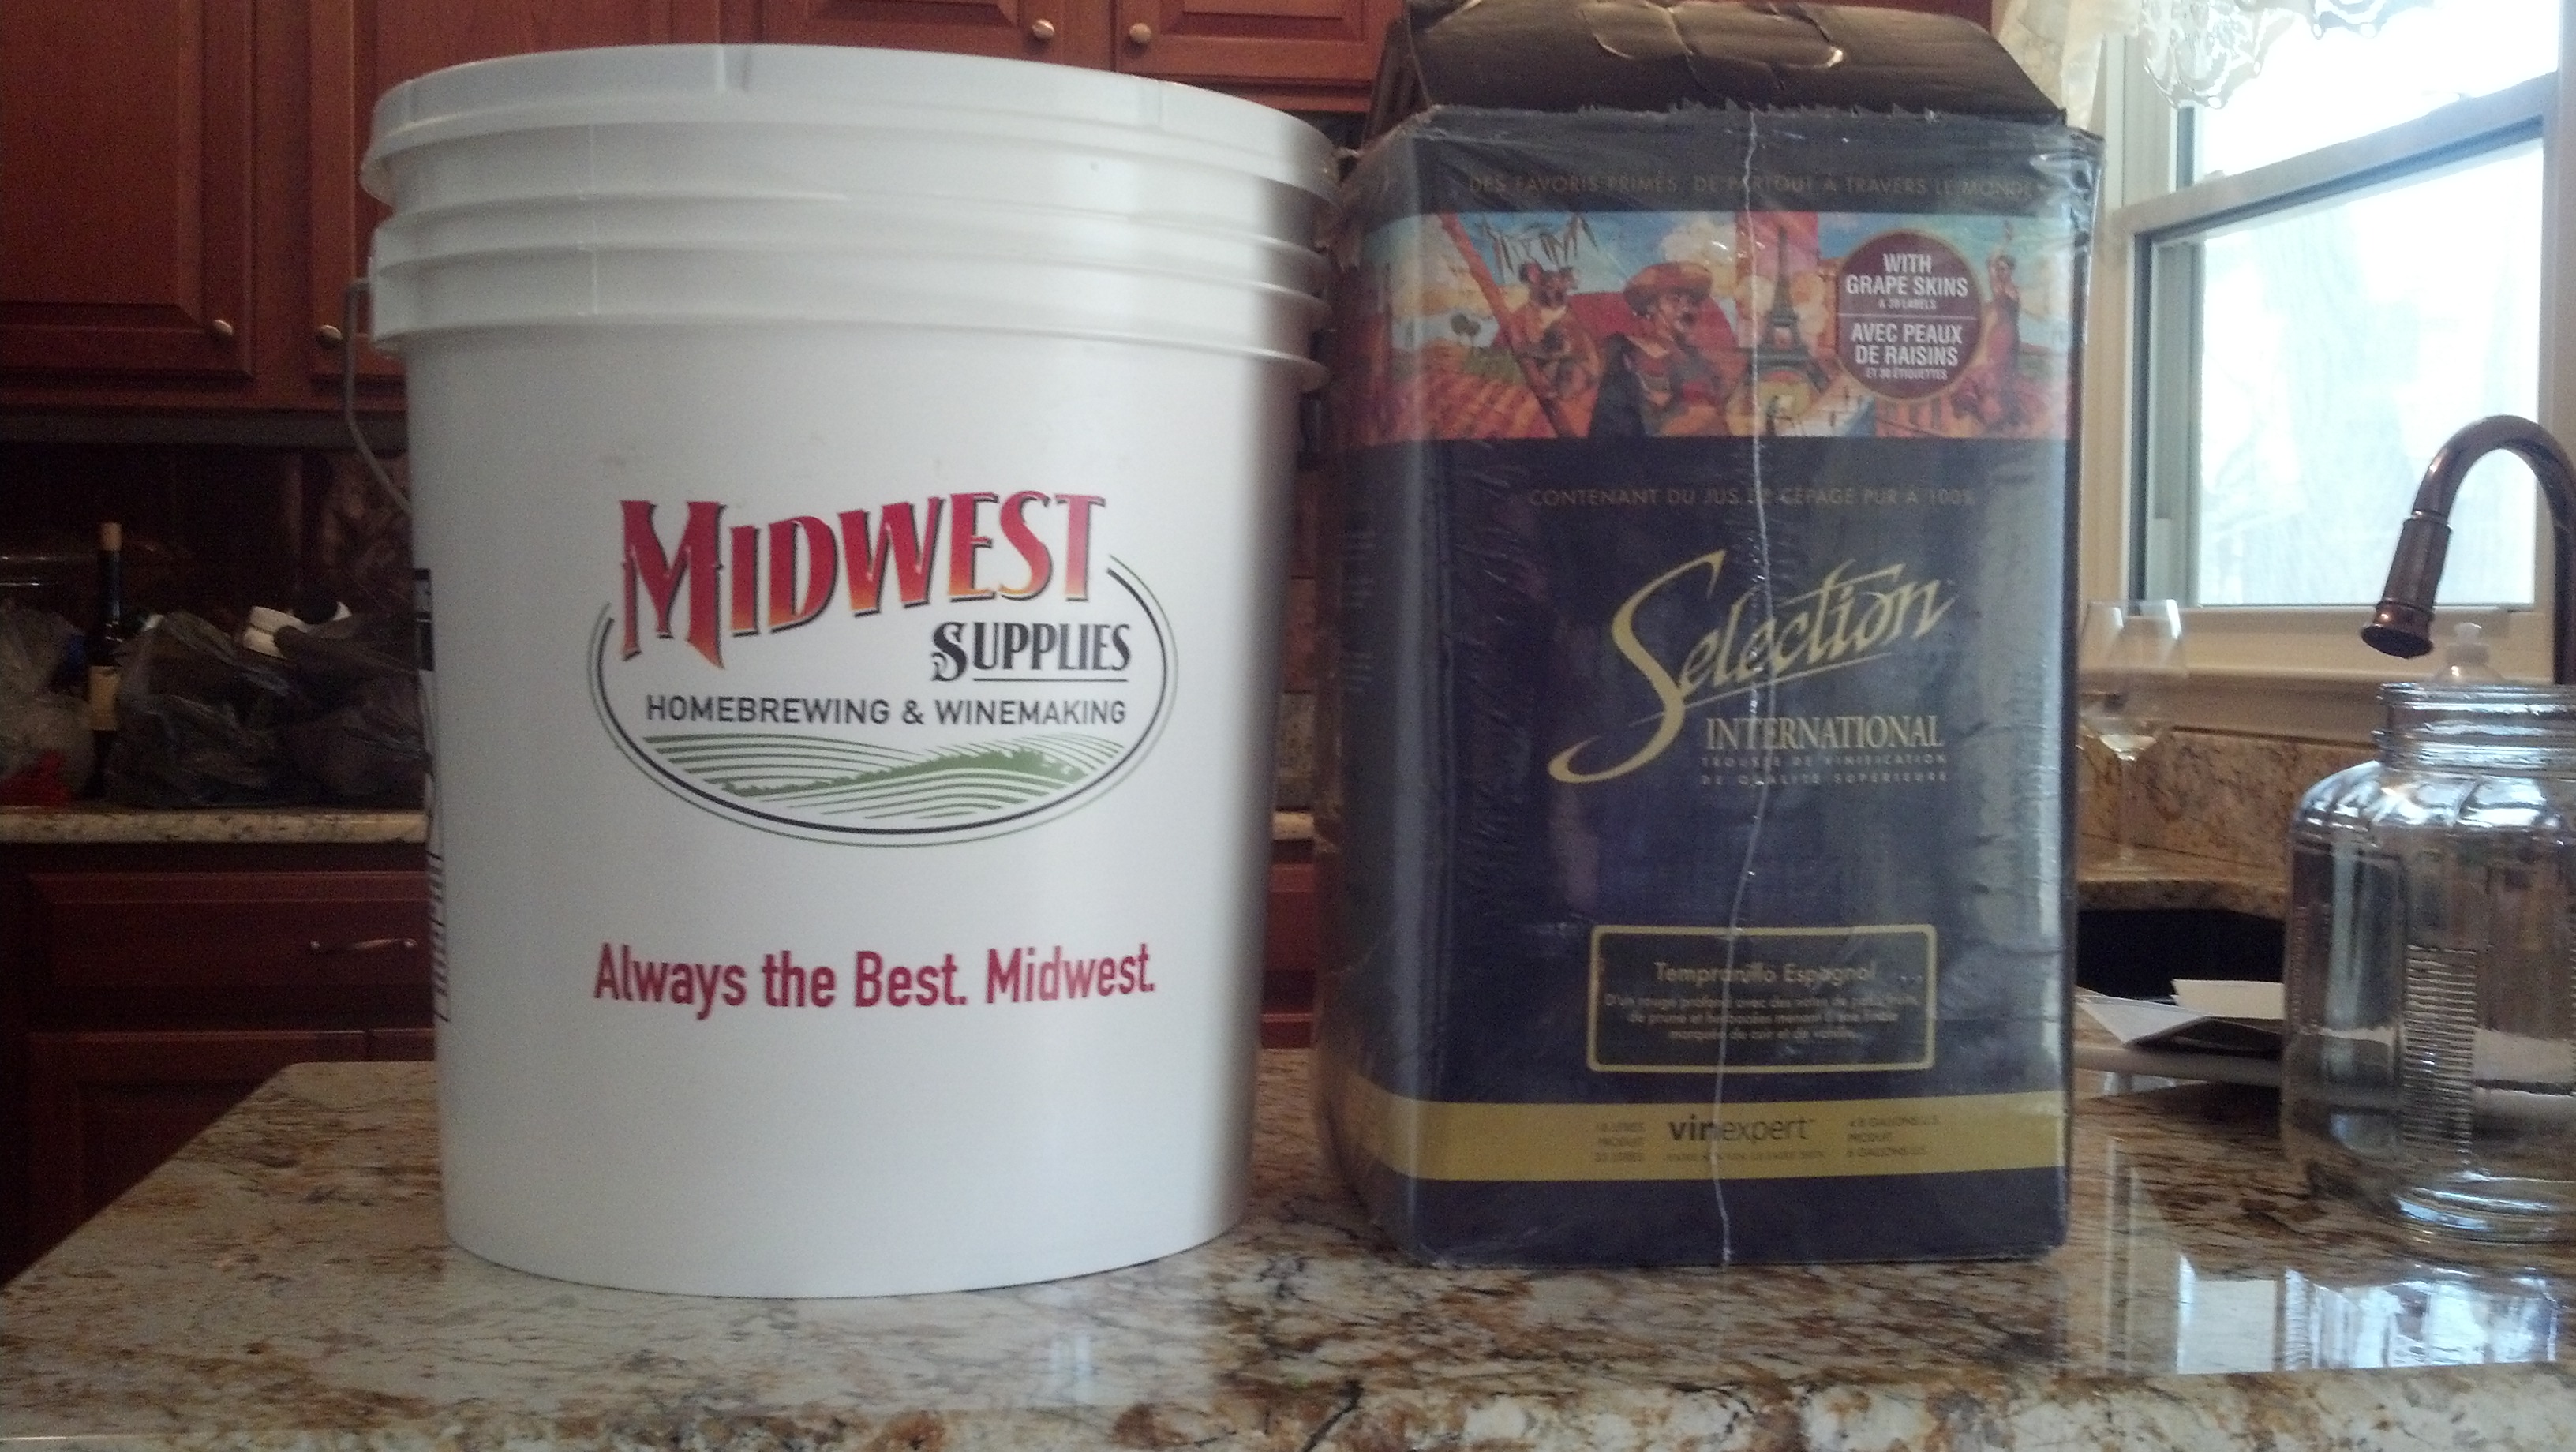
Here’s the 7.9 gallon fermentation bucket next to the box containing the juice and grape skins
Wine kits, though, offer a world of possibilities – literally. You can get kits that contains juice and crushed grapes from Argentina’s Mendoza region or South Africa’s Western Cape. You can buy Chilean Cabernet Sauvignon or Australian Shiraz or Oregon Pinot Noir, for that matter, and make those wines at home whenever you want.
Years ago, I turned my nose up at the idea of making wine from a kit. But from what I’ve read over the past few years, kits have gotten better and better. Two years ago, after receiving a starter set with all the equipment from my daughter as a Christmas gift, I tried my hand at one. I made so many mistakes that I should have been grateful to have ended up with decent vinegar. But I worked hard at it, and when I was finished I decided that the very least I could say about it is that it was honest to God wine.
I wondered if that would be the most I would ever be able to say about it as well, and I suppose the answer is somewhere in the middle. It wasn’t great wine, but my kids liked it well enough to ask me to bring a couple of bottles with me when I traveled out to visit (in California, no less), so it at least found an audience. And every time I open a bottle, I tell myself, “Hey – this ain’t so bad.” And yes, I know – that’s a pretty low hurdle.
In any event, I decided to try my hand at it again. This time, I’m making a Spanish Tempranillo, one of my favorite varietals. The kit was made by Winexpert, and it came with a bladder of juice, a smaller bladder of crushed grapes, and of course all of the yeast, fining agents and the like that one needs to turn the juice into wine.
So, here’s what I did Monday: I mixed Bentonite, a clay granule that will help clarify the wine, with hot water at the bottom of a 7.9 gallon bucket that serves as the primary fermentation tank. After that, I dumped in the juice, and followed up by adding oak powder and then the crushed grapes. The grapes are held inside a cheese cloth sack, and there was a bit of free run left after I got them into sack, and that went into the fermenter along with the grapes.
A couple of points. First, the Bentonite clumps up easily, and once that happens, it’s pretty hard to break it up. It’s easy to see that it really is a clay. So, I did the best I could and hoped that it would be enough.
Second, I’m using Sodium Metabisulphite as a sanitizer. Mixed it up in a one gallon jug, which is the perfect sized container, except that it’s not at all clear to me how best to apply the mixture to the various implements I need to sanitize, many of which are too big for the jug’s mouth. I bought another glass container with a wide opening, and used that to dip some of the implements into, particularly the stirrer.
I had stored the juice and grapes in the garage for the past few months, reasoning that the relative coolness would provide an optimal storage environment. Hopefully that’s true, but I hadn’t thought about how long it would take to warm the juice back up. The must required the addition of spring water, and so I used the aforementioned one gallon glass container to microwave the water (about 1.6 gallons altogether) before adding it back to bucket. That did indeed help to warm the must (the unfermented juice, skins, seeds and pulp), but it also meant shuttling the container back and forth from holding water to holding sanitizer. Each time I poured metabisulphite into the container, it had to be well rinsed before it could accommodate the water that would ultimately go into the must.
Well, we do what we, uh, must. Or at least what we can.
Winexpert warns against pitching the yeast until the must is between 70 and 75 degrees Fahrenheit, and I was at about 67 degrees after filling the bucket, despite the microwaving. I left the covered bucket in our sun room, hoping the bright sunshine streaming through the glass would do the trick.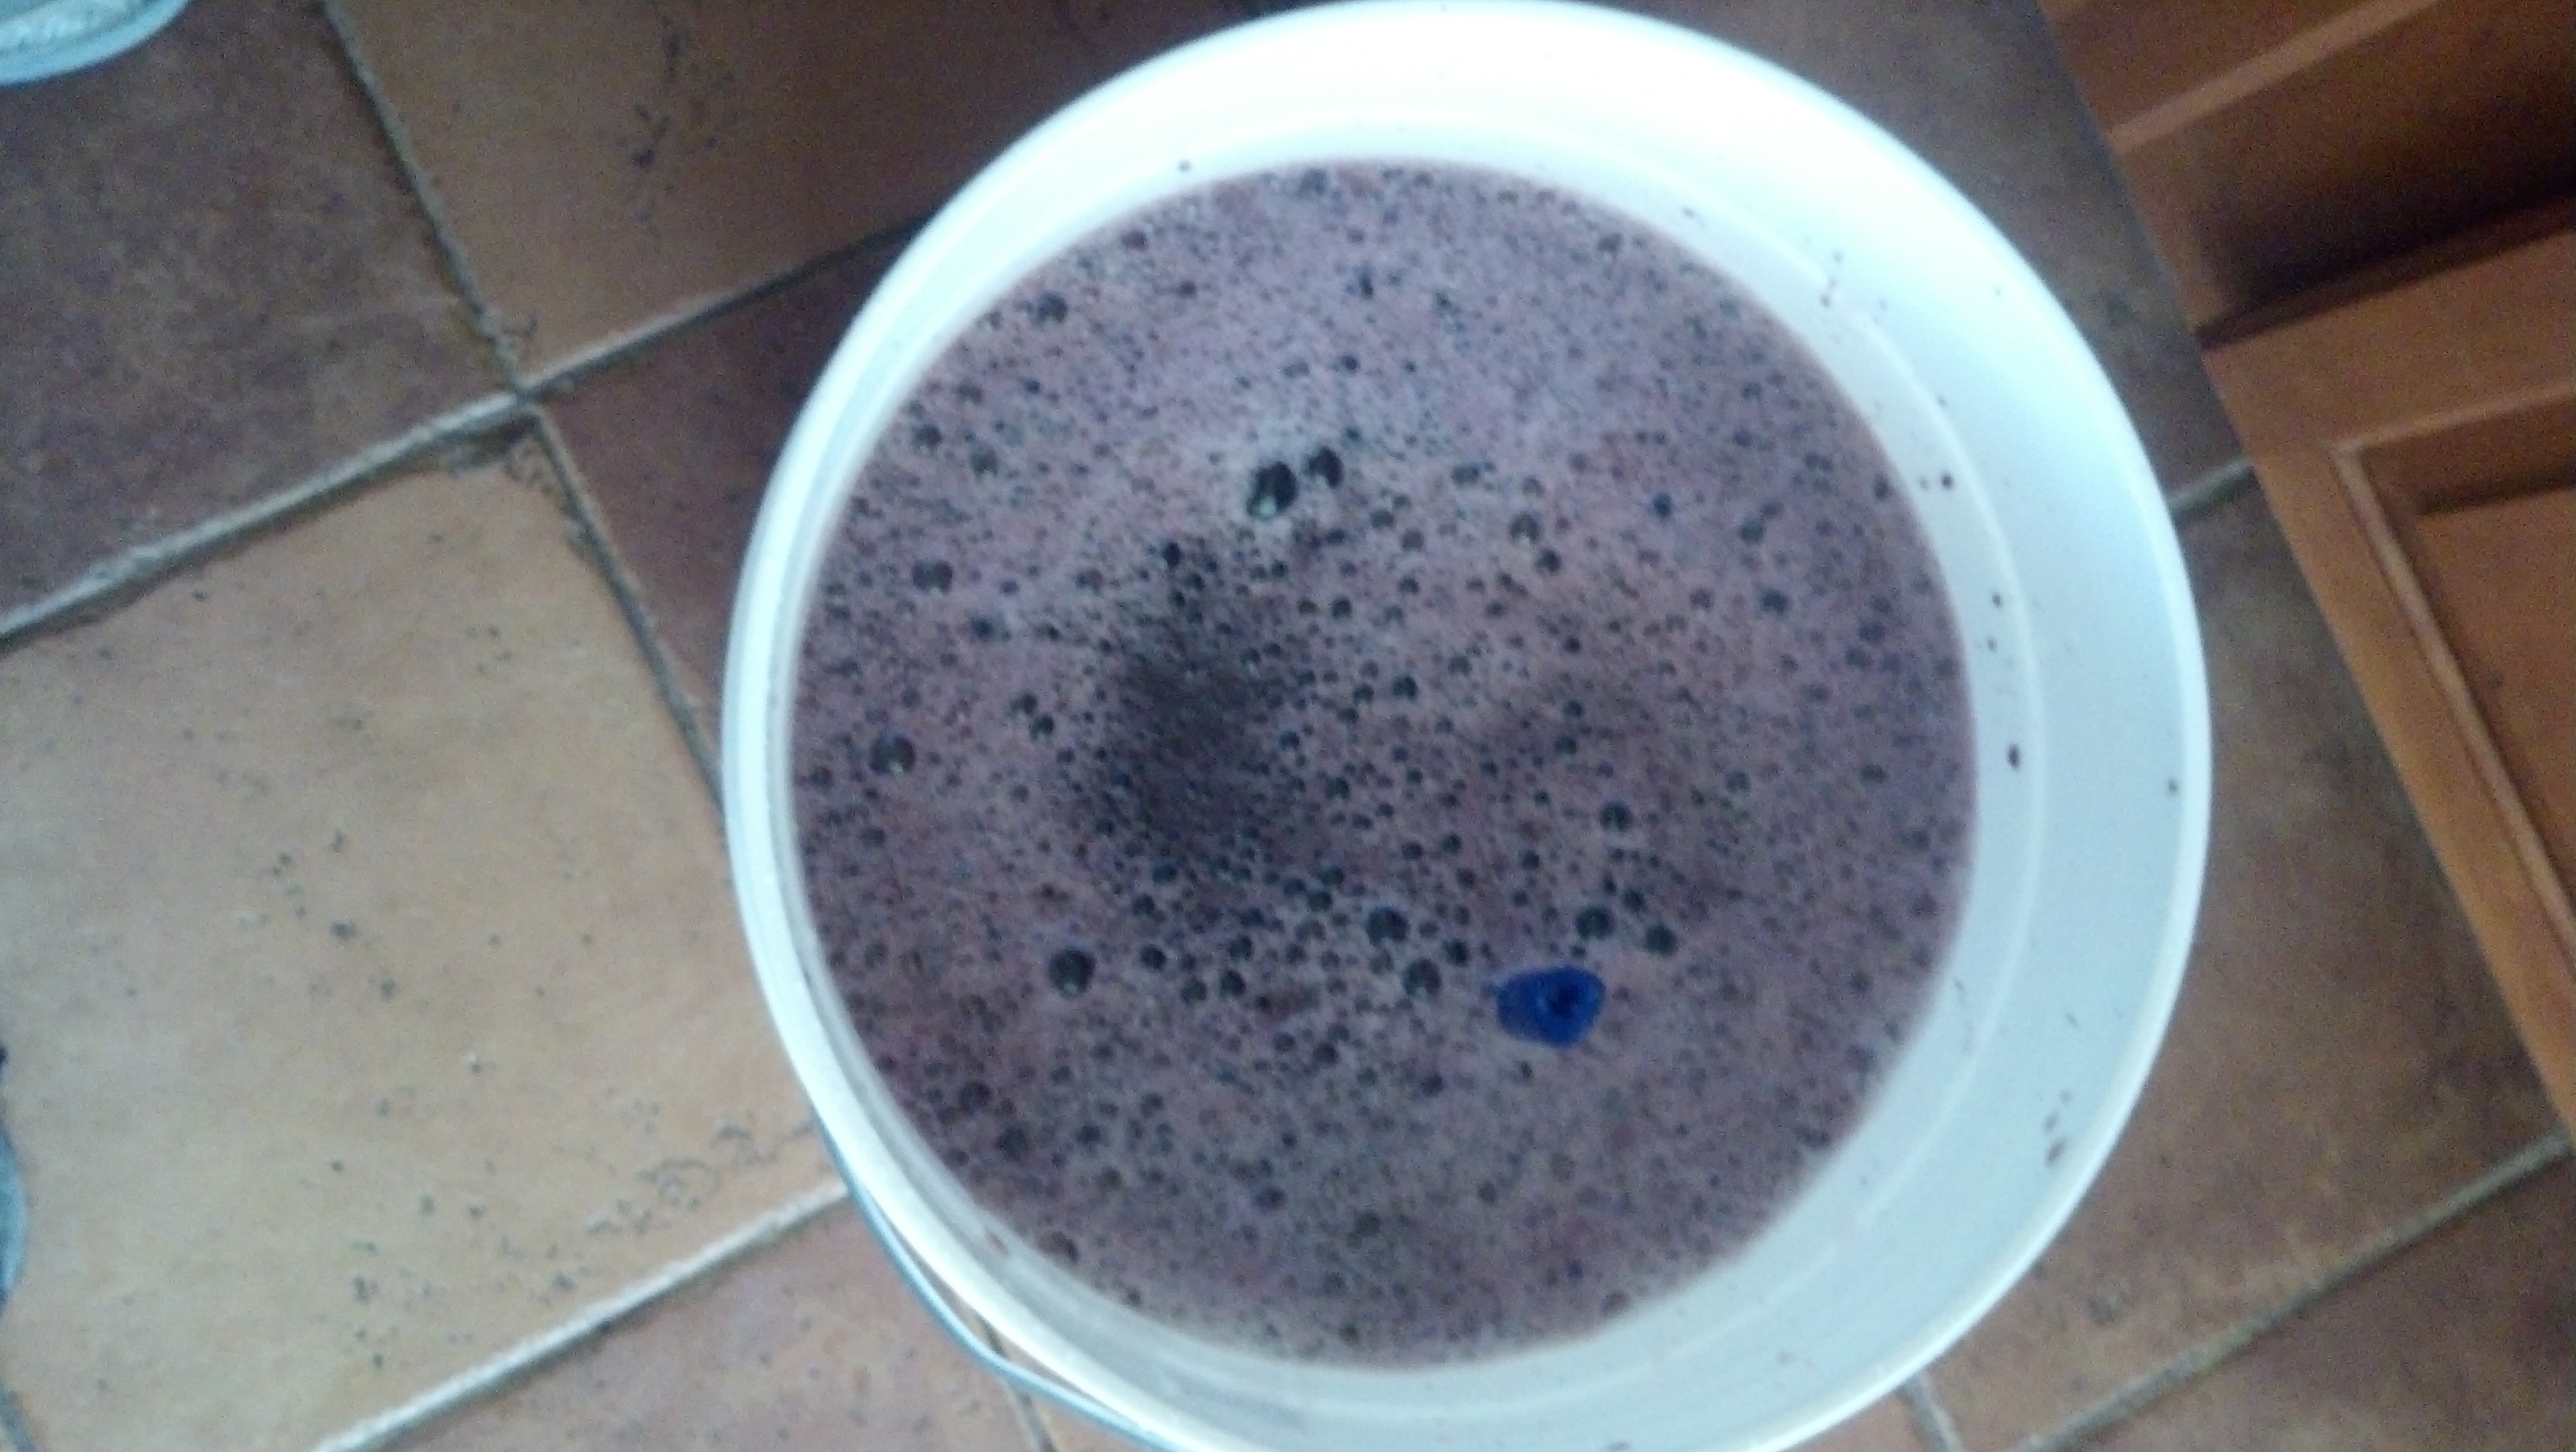
An hour later, the temperature hadn’t risen at all, so I decided other measures would be necessary. First, I tried a warmer that is supposed to raise the temperature by 5-20 degrees. It looks like a little paper-thin electric blanket for wine fermenters, and I left it wrapped around the fermenter for the first night. But an hour passed over the afternoon, and I was still at 67 degrees.
I decided stronger measures were in order, so I lifted the bucket into the kitchen sink, filled the sink with hot water and waited, checking the temperature every five minutes or so.
This worked. Twenty minutes later, the must was at 74 degrees, and I pulled the bucket out of the water (not a pretty sight, given that the bucket weighed something like 50 pounds at this point) and pitched the yeast.
I took a couple of readings. The specific gravity was 1.082, right in the range of where it’s supposed to be, and the brix (I couldn’t resist using the refractometer my daughter had given me for Christmas) was at about 22, right in line with the hydrometer reading. I also had a pH meter, but it turns out that calibrating the meter requires two buffer solutions, one for pH 7.01 and the other for pH 4.01. Being a novice, I had ordered only the 4.01 solution with the pH meter. Well, maybe next time.
For now, though, the must is resting on top of a chair, scrunched between a wall and a wine cabinet with the back of the chair facing out. I chose that spot and the position of the chair to protect the primary fermenter from the curiosity of my dogs, both of whom I’m sure would like nothing more than to paw at the lid until it popped off. I’m guessing they’d also enjoy a drink from the bucket, since the juice is very sweet.
So, hopefully it will make great, or at least good, wine. In another six months or so, we’ll have some idea. But first, I’m waiting for fermentation to begin. I’m sure I’ll be checking on it in the middle of the night, the same way I checked on my kids when they were babies. Because you never know what might be happening.
Category: All Posts, Winemaking
Subscribe
If you enjoyed this article, subscribe to receive more just like it.


Comments (1)
Trackback URL | Comments RSS Feed
Sites That Link to this Post